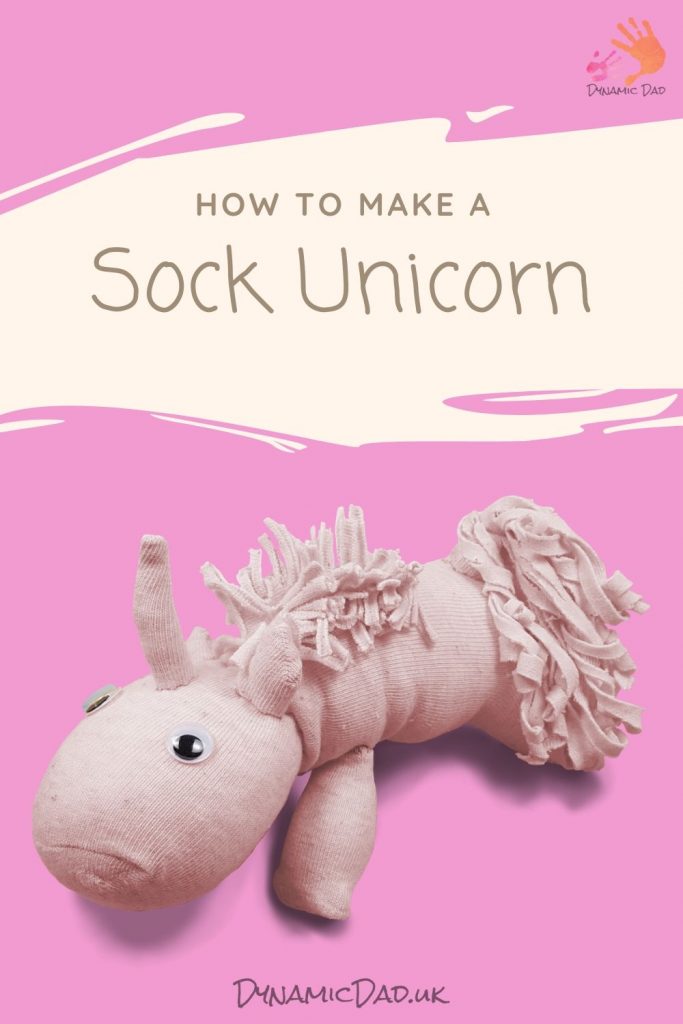
How to make a Sock Unicorn
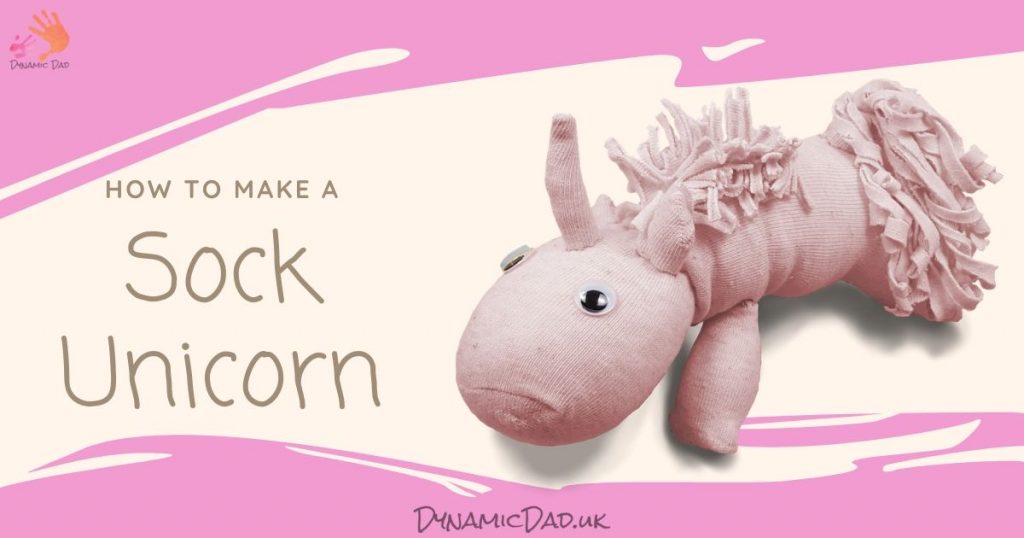
How to make a Sock Unicorn
Everyone loves unicorns, right? And Sock animals? Well, here’s how to make your very own sock unicorn. If you loved making my Sock Dog & Sock Bunny, you’ll love this Sock Unicorn!
With only a few materials, no sewing experience and a little imagination here’s a unicorn craft activity that’s sure to please.
Involve the kids, or make a few as presents – you could even adjust the design to make other sock animals. I’ll be adding other tutorials as time goes on, but for now… how to make a sock unicorn.
Required Materials
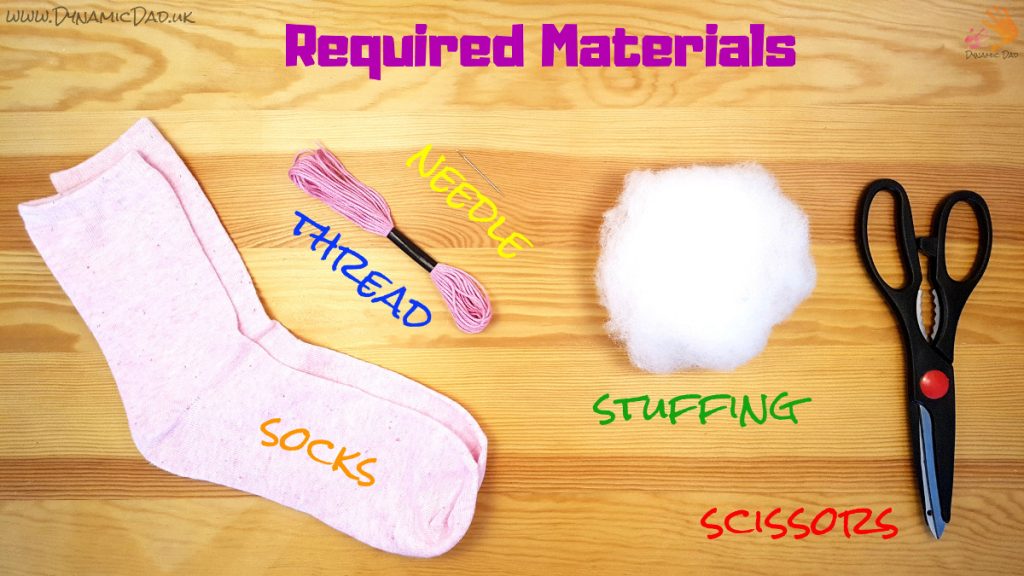
To make this amazingly cute Sock Unicorn you’ll need the following:
- 2 Socks (they don’t have to be a matching pair)
- Needle & Thread
- Stuffing
- Scissors
Optional Materials
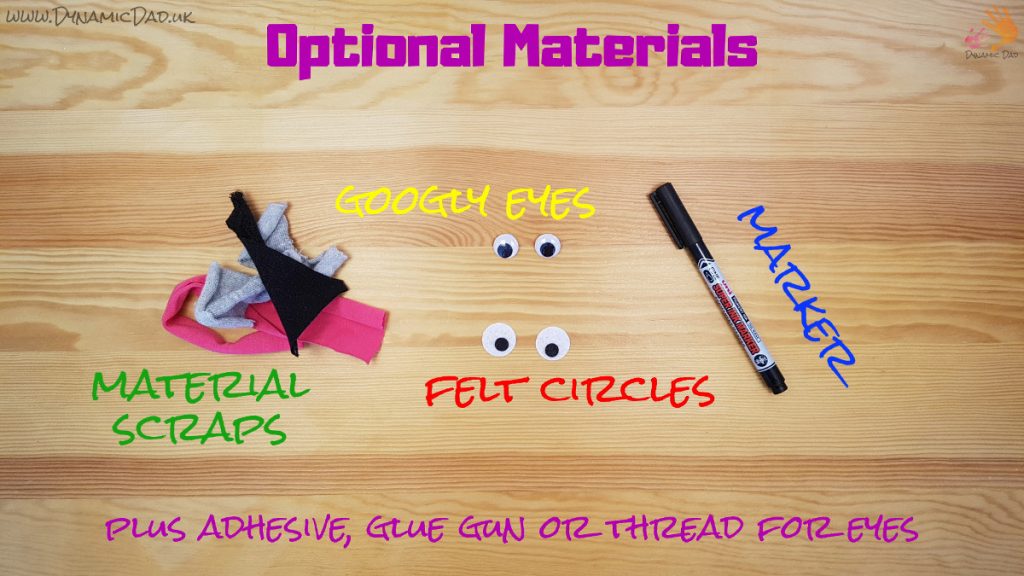
As always, there are so many ways to get creative and make your own unique sock unicorn. Here are a few suggestions:
- Googly Eyes
- Felt circles
- Marker
- Material Scraps
- Adhesive, glue gun or thread for your chosen eyes
The material scraps could be used to create contrasting coloured body parts. Simply substitute for the sock offcuts to make whichever part of your sock unicorn. Perhaps make two sock unicorns at the same time and swap ears, horn, mane & tail for a unique pair!
How to make a sock unicorn
There are only two stitches involved – a running stitch and a ladder stitch. Most pieces should be turned inside out first and the edges sews with a running stitch about 5mm (1/4 in) from the edge. A ladder stitch then closes or attaches pieces. This keeps stitches hidden and gives a tidy finish.
Read through the step by step instructions below, or jump ahead to the how to video.
Step 1
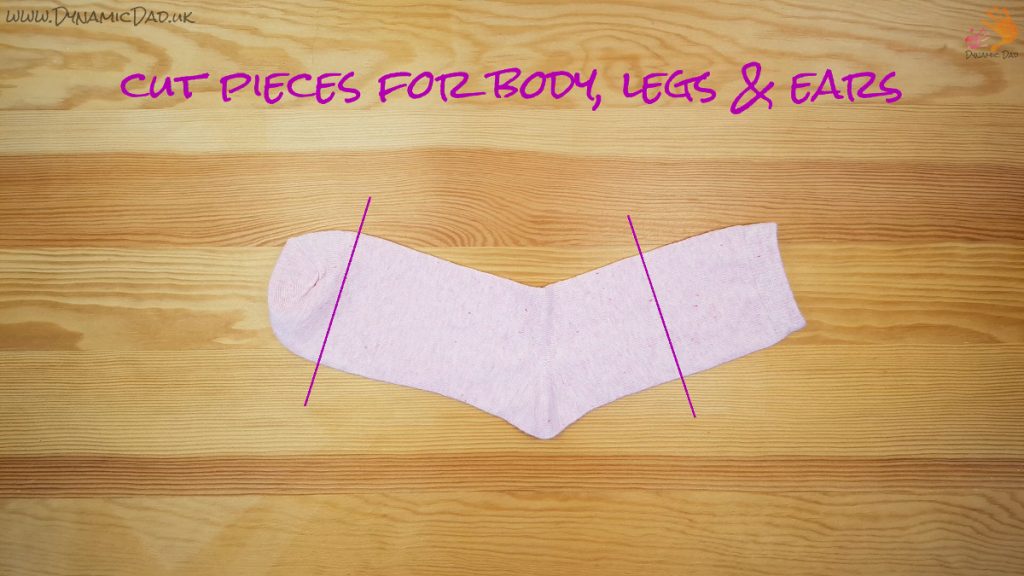
Cut as shown to form the pieces needed for the ears and horn (left), body (centre), and front legs (right).
Step 2
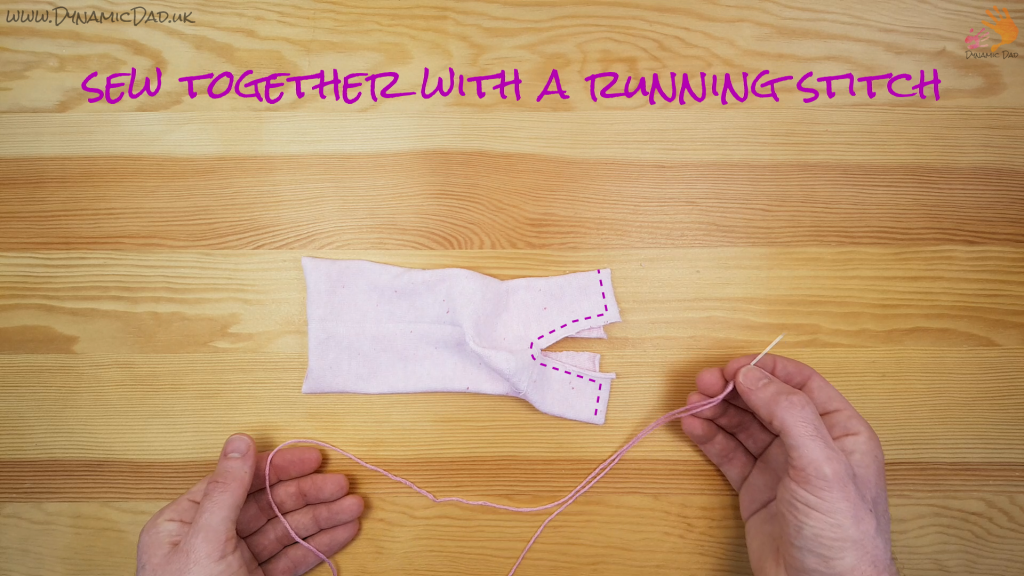
With the largest piece of sock, lay it flat so the heel is facing up and closest to you. Cut to just below the heel to form the rear legs.
Turn inside out and sew together with a running stitch.
Step 3
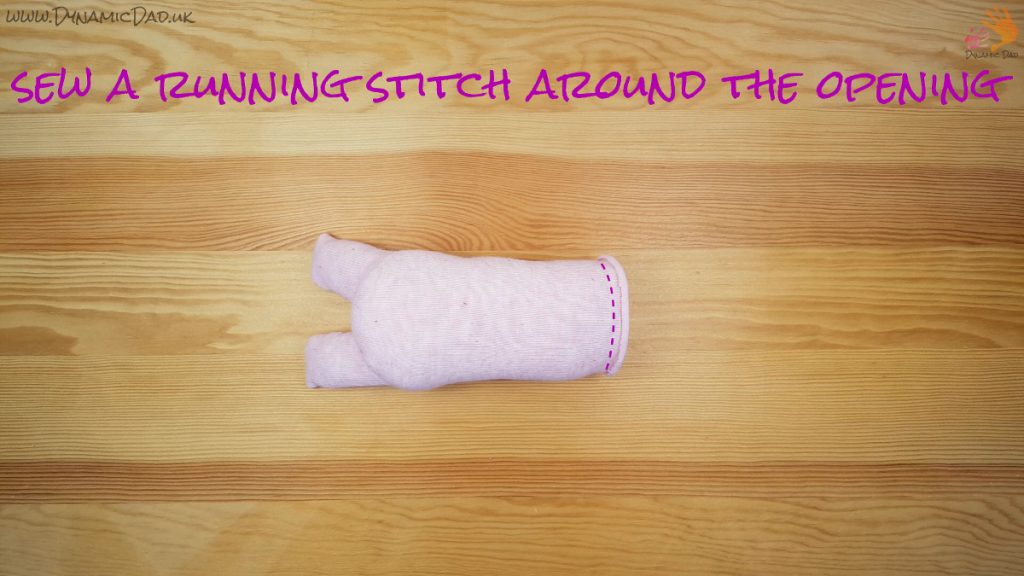
Stuff the legs first, then the body.
When full, sew a running stitch around the circumference of the opening. Pull tight to close and stitch or tie off.
Step 4
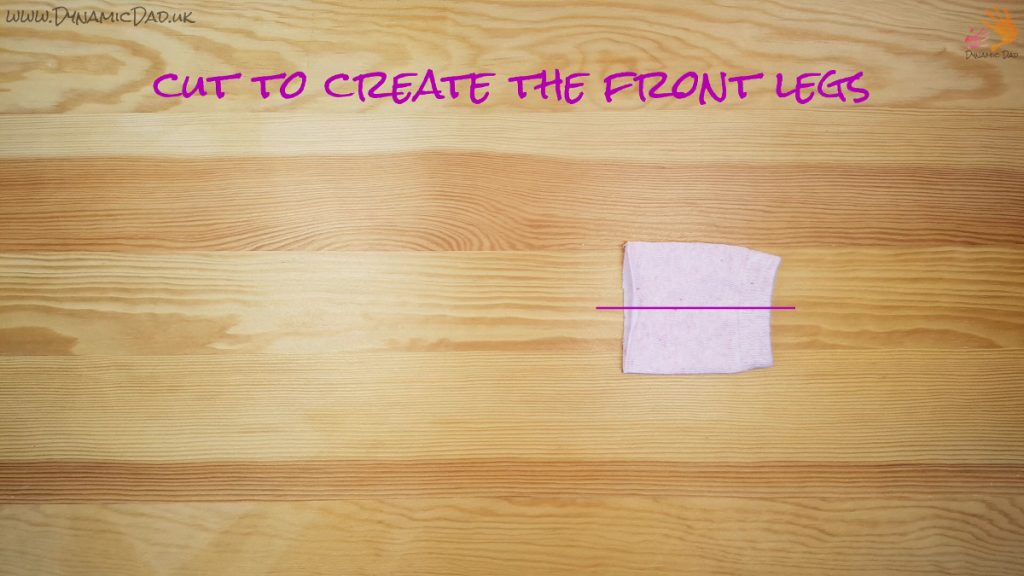
Cut the ankle end of the sock in half as shown. Turn inside out and stitch two sides with a running stitch, then stuff. Fold the cut hem in and close with a ladder stitch for a clean finish.
If you stitch the elasticated ends first, they will look like hooves on the finished sock unicorn!
Step 5
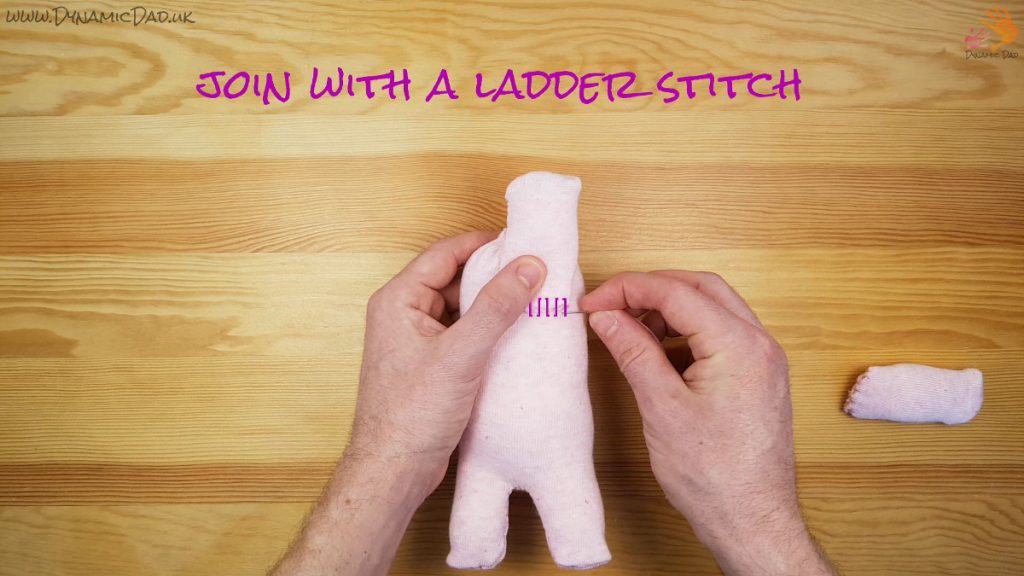
Use a ladder stitch join the front legs to the sock unicorn body.
Position the end of the legs approximately 1/4 of the body length from the head end. Stitch all the way around the join for support.
Hide the trailing end of the thread inside the sock unicorn by exiting the needle further along the leg or body. Pull the thread tight and cut close to the material. When the sock unicorn springs back into shape the thread will be hidden inside.
Set aside the body and legs of your sock unicorn while you make the head.
Step 6
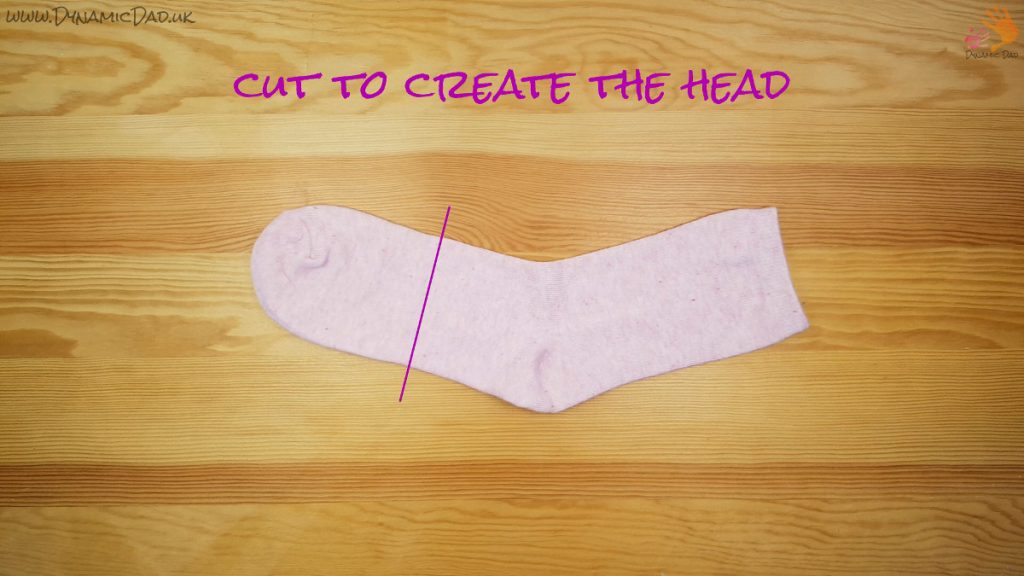
Cut the second sock as shown to form the head. The remainder will form the mane & tail, unless you’re using contrasting material scraps.
Stuff the head and seal with a running stitch pulled tight in the same way as the body of the sock unicorn.
Step 7
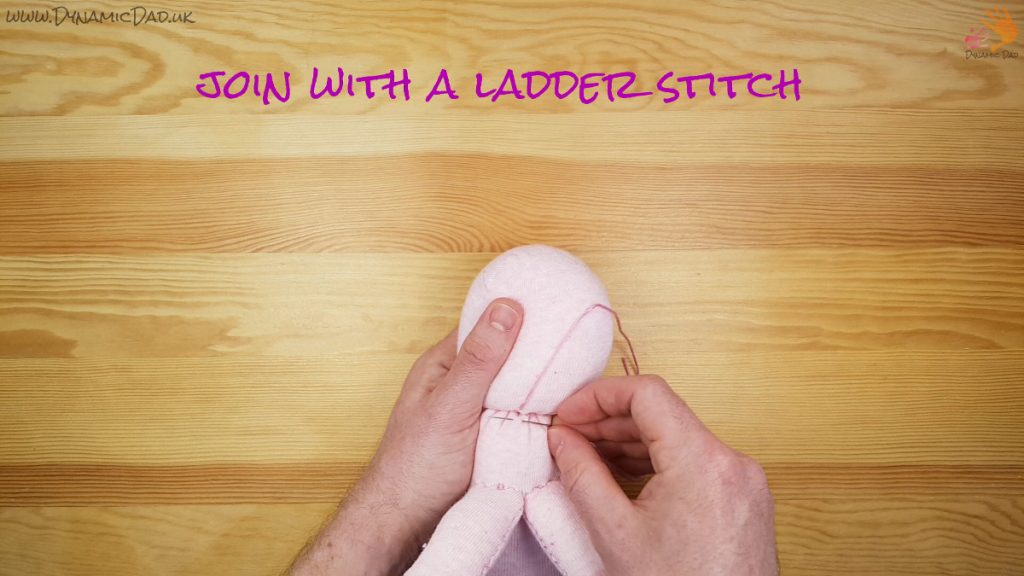
Attach the head to the body using a ladder stitch. Keep the toe seam up so it forms the sock unicorn’s nose & nostrils.
Hide the thread inside the same way as before.
Step 8
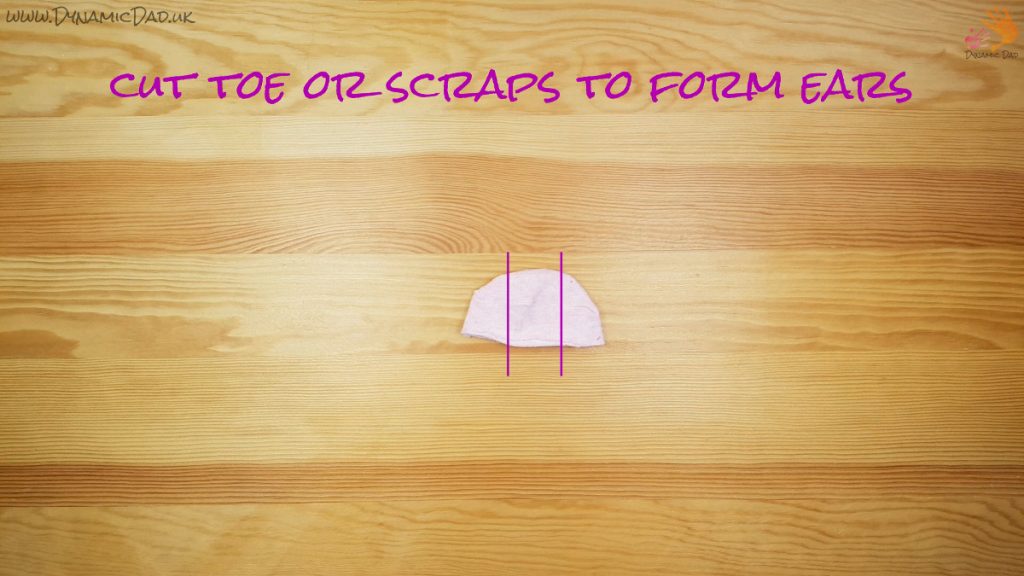
Using the toe cut from the first sock, or some material scraps, cut the ears & horn material as shown.
Make the ears by turning the material outside in and stitching one side with a ladder stitch. Turn right side out, stuff, fold the cut edge of the material in and seal with a ladder stitch for a clean finish.
Step 9
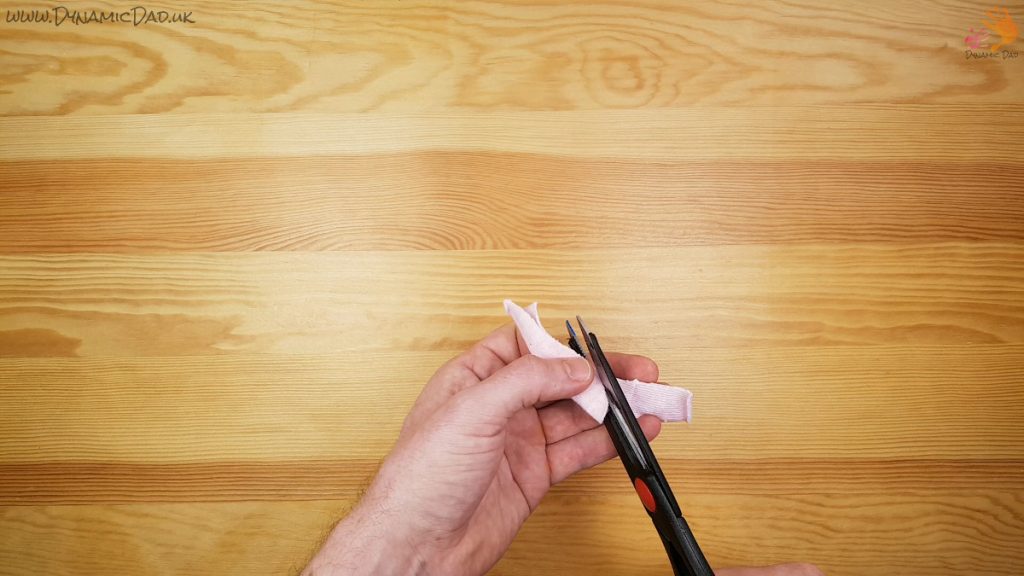
Make the horn by cutting a bullet shape from the remaining rectangle. This can also be achieved by folding lengthways and cutting a curve from the fold to the edge.
Sew a running stitch from tip to base, turn right side out, stuff and close.
Step 10
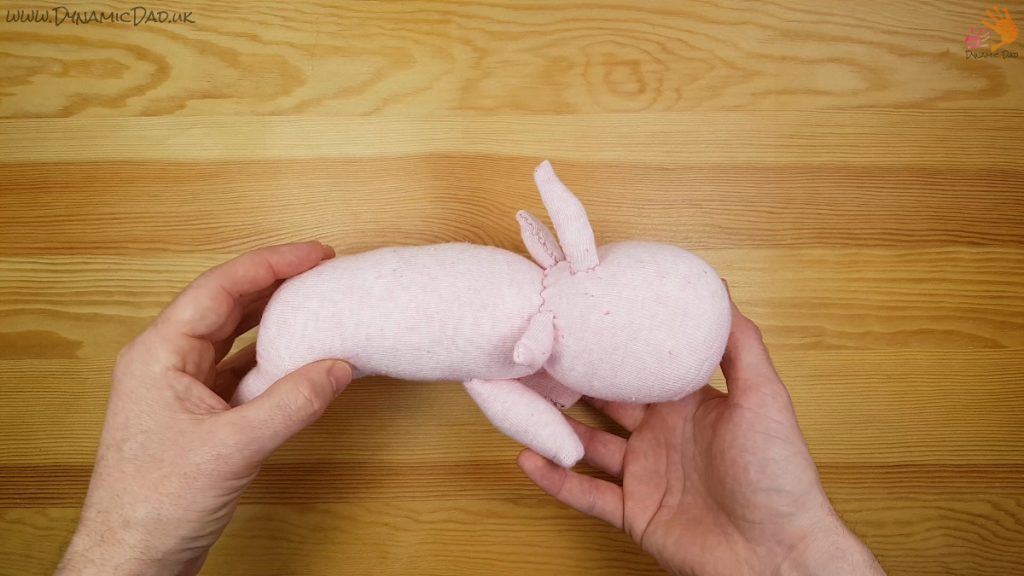
Sew the ears and horn onto the head using a ladder stitch and hide the thread inside for a clean finish.
Step 11
Create the mane by cutting the rectangle up to the heel of the sock (or using scrap material). Cut open into one large rectangle and cut into short, fat, thirds.
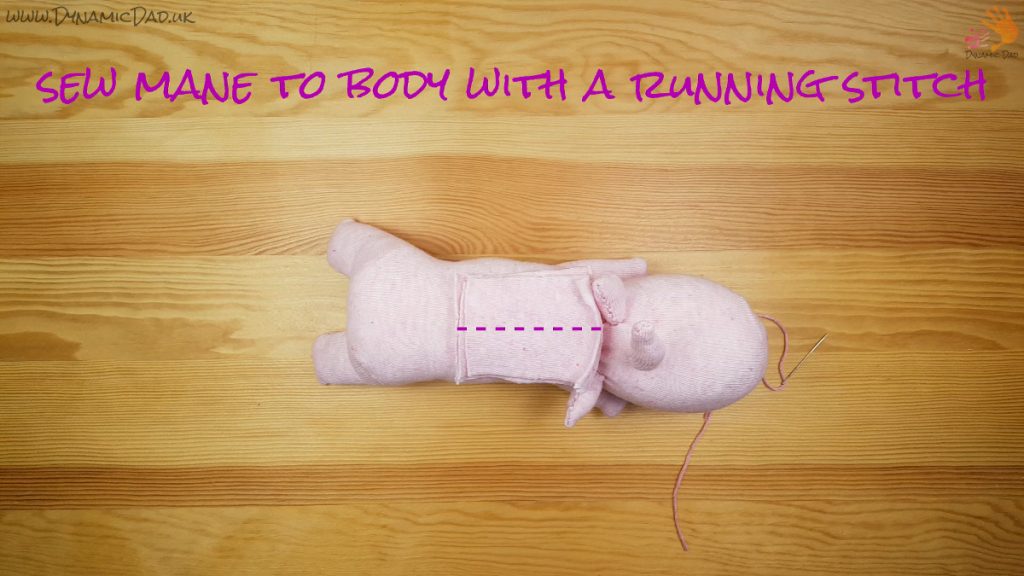
Stitch to the sock unicorn body from the neck back using a running stitch down the centre of all three rectangles. Marking dots on the back in a straight line can help keep the stitch line straight.
Using sharp scissors, cut all three layers into strips.
Step 12
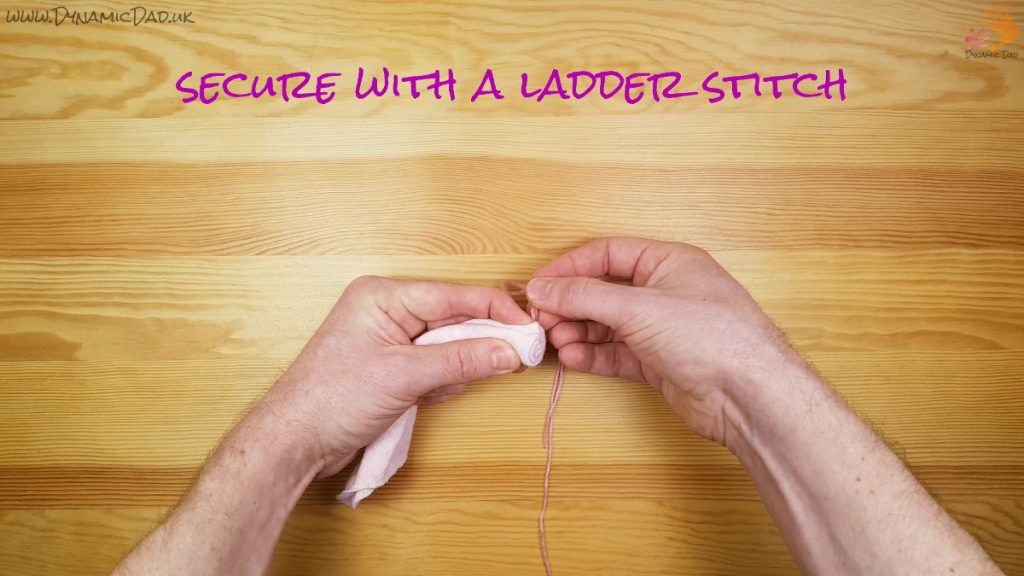
Roll the last piece of sock tightly to form the tail. Stitch at the elasticated end to hold the shape, a ladder stitch to keep the end of the roll tidy and a few stitches all the way through so the roll doesn’t pull out from the middle.
Attach to the sock unicorn with a ladder stitch and hidden thread.
Cut the material into long thin strips. Cut carefully as with the material rolled it can be easy to cut across hidden folds and cut pieces out.
Step 13
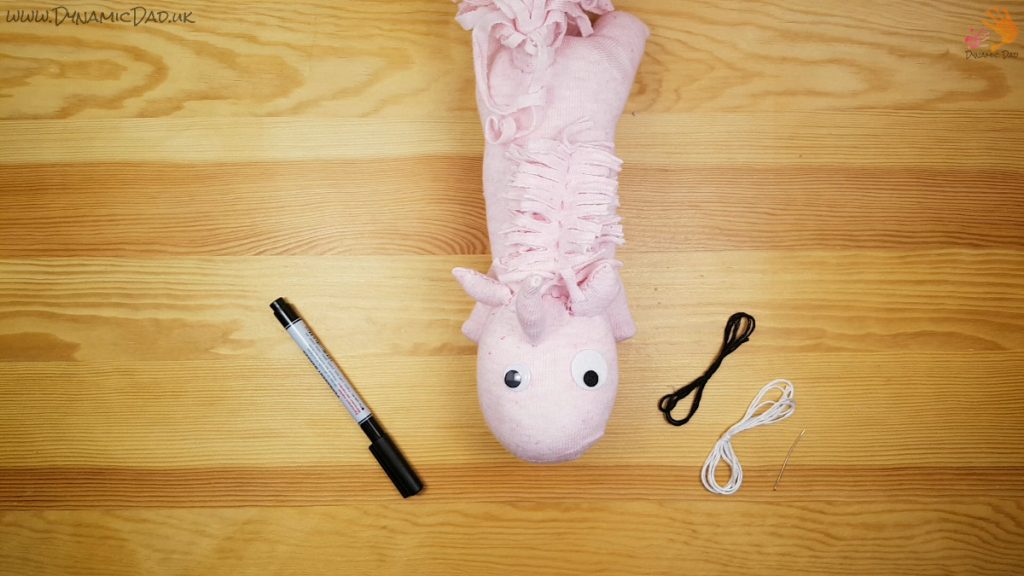
Your sock unicorn is almost finished – just the eyes to go…
This is up to your materials and imagination, either sew on some felt or material circles, glue or hot glue some googly eyes or draw them on with a marker!
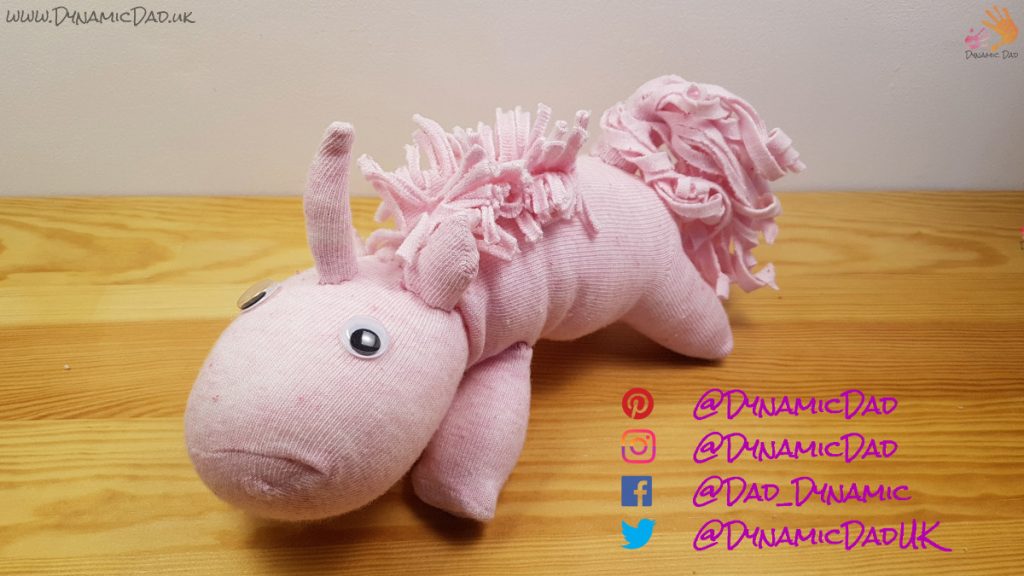
Sock Unicorn Video Tutorial
If you’ve enjoyed making this Sock Unicorn, check out my other unicorn crafts as well as my No Sew Sock Dog & No Sew Sock Bunny!
