How to: Make Pipe Cleaner Crystal Names
Grow your own crystal names – Art, Craft and Science all rolled into one!
You may have seen a few examples of crystal snowflakes, borax crystals and similar. Here are two tried and tested UK ingredients versions – borax-free.
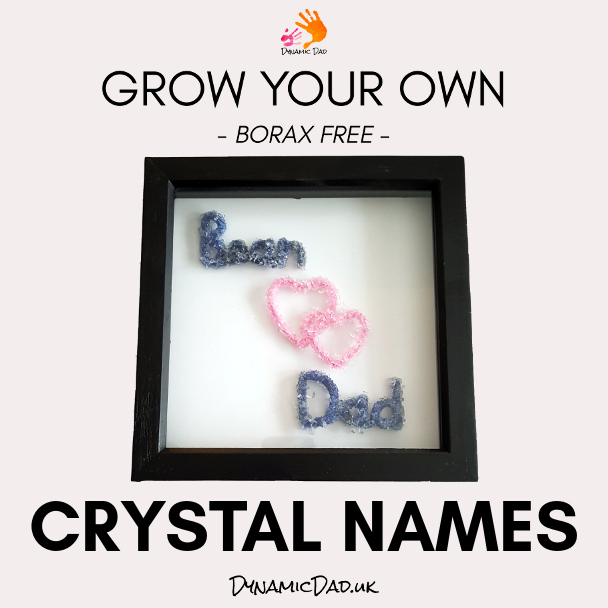
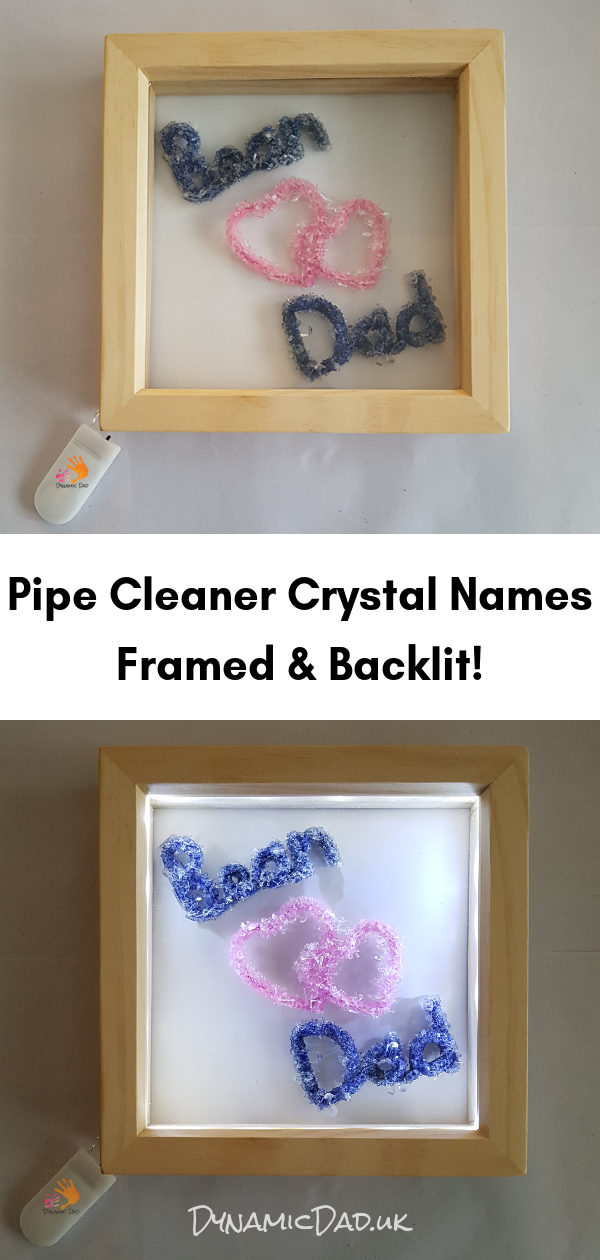
I decided I’d go the whole hog for Bean by framing and illuminating our crystal decorations, and you can too – but you don’t have to, so there are a few materials you could leave out.
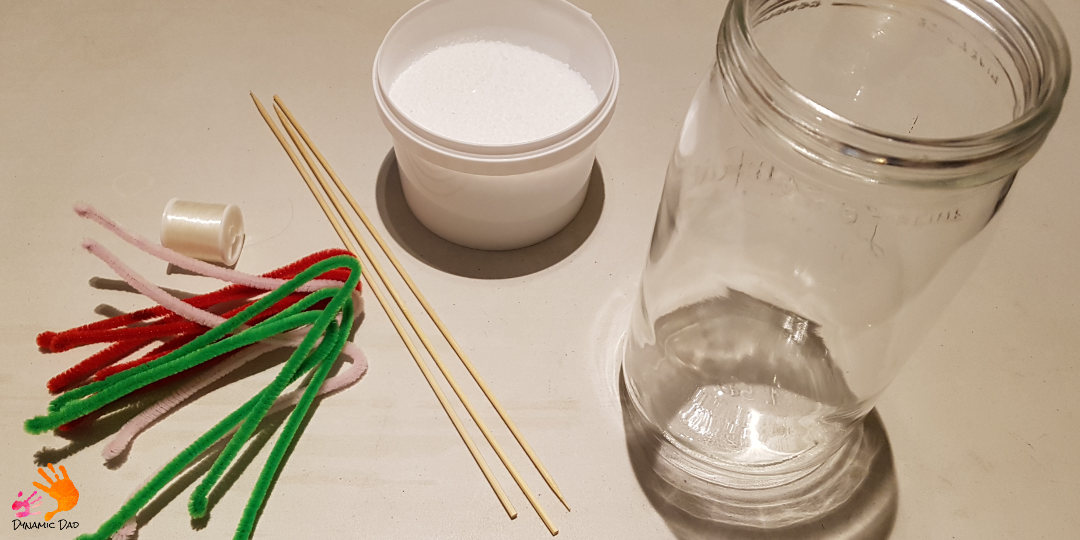
You’ll need:
For the Crystal Names
- Pipe cleaners
- Thread (ideally nylon)
- A jar or similar container (500 ml – 1 litre is ideal)
- A jug for mixing your solution
- Pencil or kebab skewers
- Water
- Epsom Salts or Alum Powder
- Microwave or Hob
For the Frame
- A box frame around 2-3cm deep (I used this one and this one from The Range)
- Backing paper to contrast with and enhance your crystals
- Superglue or PVA glue
For the lights
I’ve created successful crystals using both Epsom Salts and Alum although I’ve had some minor frustrations with both too.
Epsom Salts create crystals easily and quickly, although they are long and thin and quite brittle – and will go white if you let them dry out completely. This is probably only likely if you leave your finished crystals in direct sunlight or near a source of heat or air conditioning. The ones I tried to dry quickly with a radiator went white, the ones that we left to dry naturally haven’t – it’s 30oc out there right now and we made these a while ago, so yours should be good too.
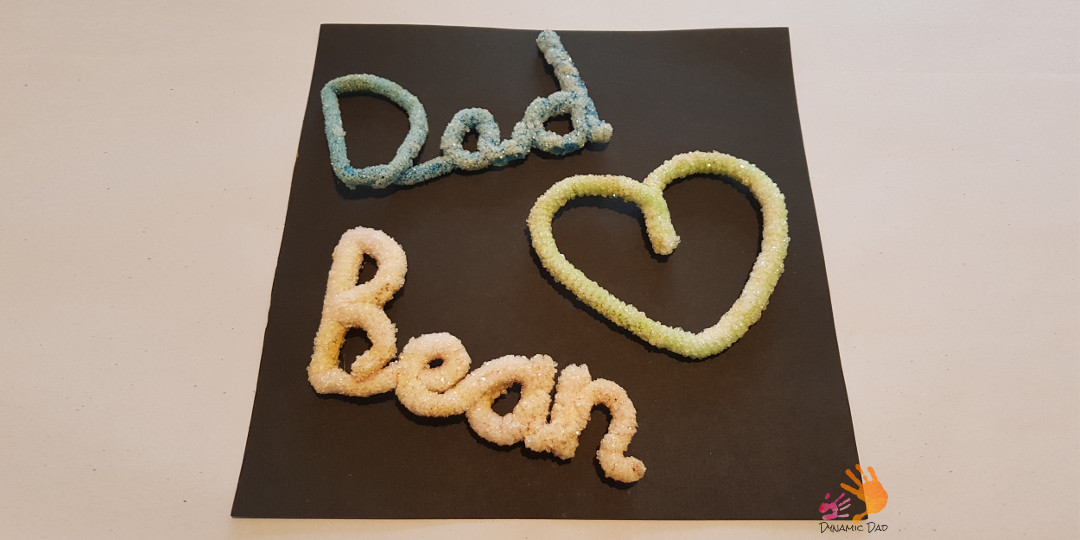
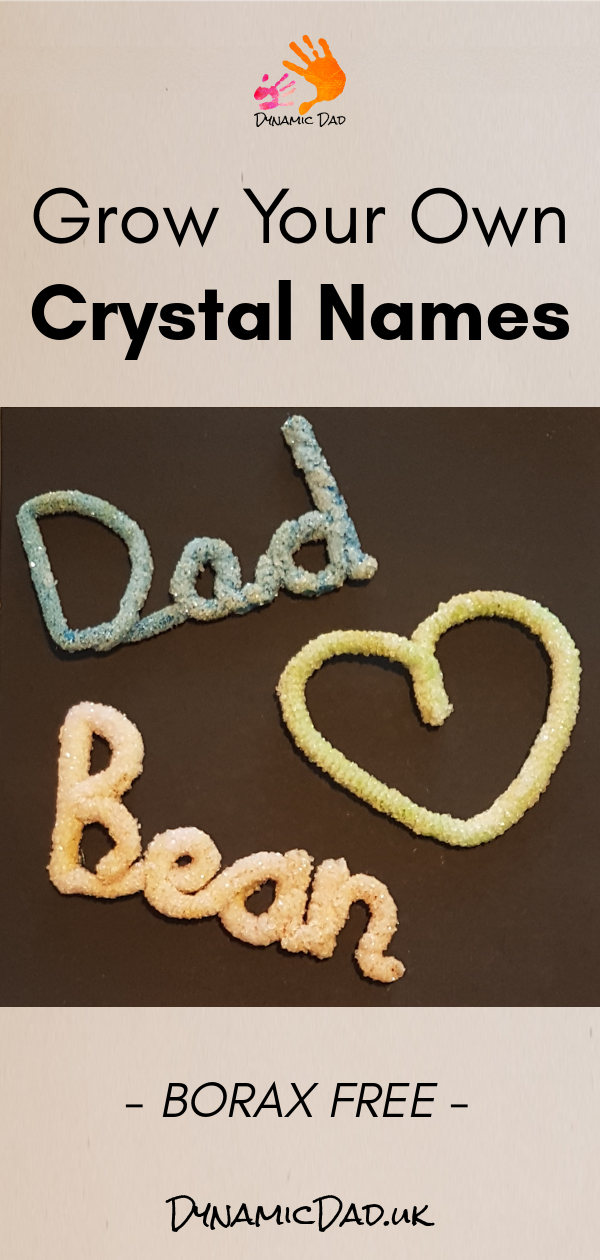
Alum has many uses – deodorant, post shave balm, whitening bread and in pickling recipes to crisp up the fruit or veg. It can also be found as Fatakdi powder. It wasn’t so easy to find in the shops, but was dead easy to find online and I’ve linked to a brand above on Amazon. I did manage to find an Alum block in a local international shop, sold as a post shave balm. It creates ideal Alum crystals for this project, though they took a little longer to form than the Epsom Salts crystals. The results of the Alum Crystals can be seen in the first and last pictures in this post, the rest are Epsom Salts crystals but the procedure is the same.
As with most of my projects – I let Bean do all the work! After all, the point is it’s fun for her to do, and you’re reading this to do it with your kids (although I don’t blame you if want to create some for yourself!).
Method:
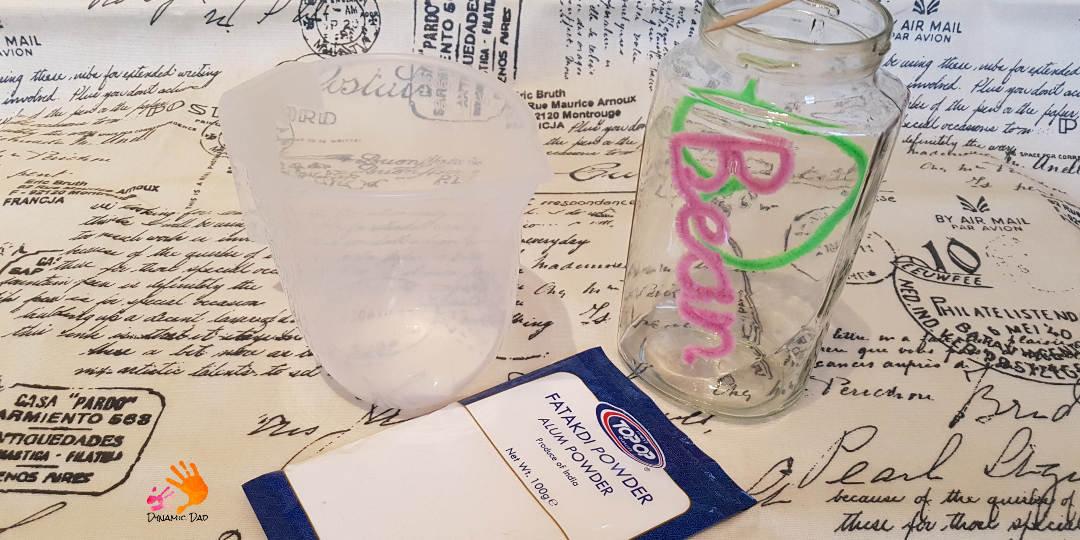
Bend your pipe cleaners into the desired shape!
There are a couple of restrictions – namely the size and shape of your jar or container. You’ll need to be able to completely suspend your pipe cleaner in liquid – so tall and narrow was best in our case. The greater the volume of liquid your jar can hold, the more Epsom Salts or Alum you’ll need as it’s the ratio of salts to water that matters.
Make sure that you can get your finished design in and out of your jar easily, without it touching the sides – it will get bigger as the crystals grow on it.
We used a coffee jar and tall sauce jar (Red Thai Curry this time), both scrubbed clean. I enjoyed the curry too by the way!
We wanted to do names, which were pretty fiddly if I’m honest. If you plan to do this, I’d suggest you cut a piece of string to the same length of your pipe cleaner, lay the string out in the shape you want, trace the shape onto paper and use the trace as a guide to bend your pipe cleaner. If needed, twist a couple of pipe cleaners together at the ends to create a longer one.
But – as that’s a lot of work you’ll probably do what I did – keep going at one pipe cleaner until you have it about right, then use that as a template for the one you’re going to use! This method works for the adults, but not so well for the kids – somewhere between the two should avoid any declarations of “I can’t do it!”. This is meant to be fun after all. You know your tribe, so stick to whatever will be achievable for them.
When making your names or shapes, try to avoid bending the same bit too often as you’ll damage the coating on the metal – which will invite it to rust. It’ll also leave kinks in your shape or name.
Tie a bit of the thread (or fishing line) around your pencil and around your pipe cleaner and check it hangs nicely, clear of the bottom and sides, but below the intended water line. Ideally, you’ll want around 1cm of clearance all round.
Mixing your solution
Caution!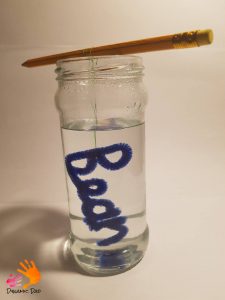 Hot! You’ll be heating the water in either case and/or using boiling water from the kettle – so supervise closely and take appropriate precautions.
For the Epsom Salts, you want a ratio of about 1:1, the tub of salts was 500g, so we used 500ml of boiling water.
For the Alum, the ratio is 7:1, so 700ml of water for a 100g pack of Fatakdi powder. Note: using the Fatakdi powder brand in the picture I noticed the water turned a slightly brown colour, and some of our crystals were slightly brown too. However, when I used the Alum block (which I powdered using a cheese grater) the water and crystals stayed perfectly clear. To be fair, the powder did have a slightly pinky/orange/brownish colour to it whereas the Alum block was clear/white – as if it was made of ice. It may be that it was the particular batch of powder. I’ve linked to a different brand above so you should see better results.
In either case, add your salts or powder and stir. The alum dissolved happily in hot water, whereas the Epsom Salts needed heating and stirring again to fully dissolve. You could heat your solution in the microwave (in short bursts of 30s or less) or in a water bath, depending on the size and material of your mixing jug of course.
Once dissolved (nothing visible in the bottom of your jug) add the solution to your jar with the pipe cleaner and adjust the height if necessary by rolling the pencil. If it won’t stay on it’s own, a bit of tape or blue-tack should fix it.
Wait!
It will take a few hours or overnight for the solution to cool and crystals to start to form.
Now, while we always got crystals, they didn’t always form on the pipe cleaner. What I found however was that by agitating the solution with the pipe cleaner – by lifting the pencil up and down a once or twice, any crystals that had started to form were caught in the bristles and continued to grow from there.
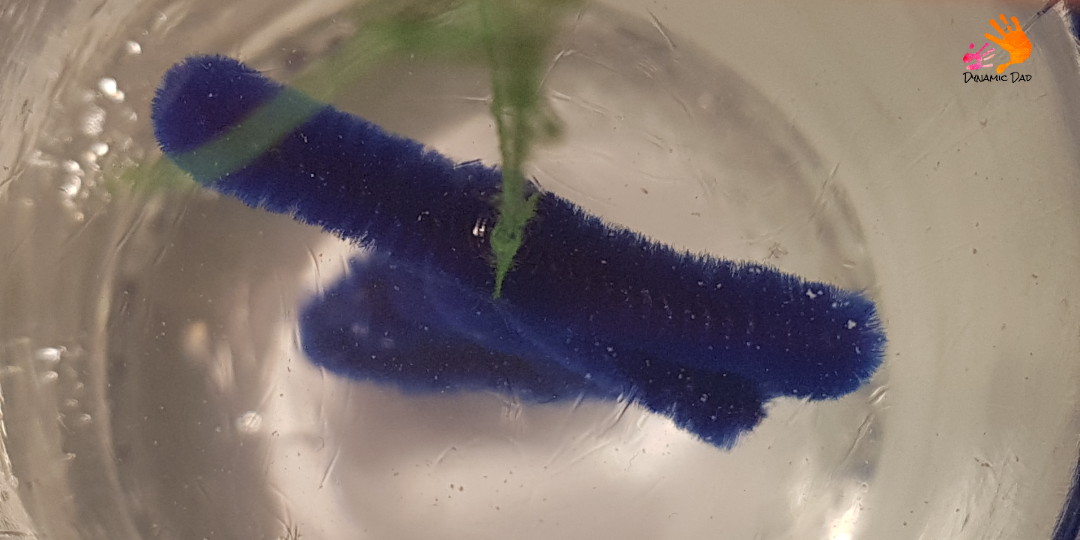
You can see them starting to form in the picture above – the solution looks ‘thick’.
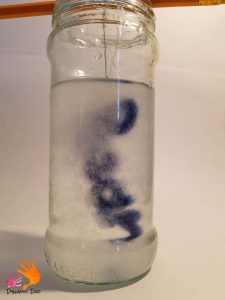 Don’t go mad though – if you agitate enough the crystals will form rapidly – so much so that your jar will fill with crystals and you won’t be able to get the pipe cleaner out. I may have done this.
Water bath to the rescue though, everything re-dissolved and I tried again. I may also have expedited cooling things using the fridge so Bean didn’t find out.
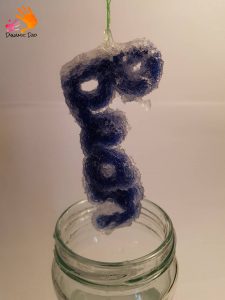 Once the crystals have started to form, they’ll keep growing. The big ones will get bigger and small ones may not form, so if you have a few nuggets visible give the pencil a quick lift then leave it alone – it will be enough to create a nucleation point for plenty more and even things out.
When you’re happy with what you’ve grown, take your name out of the jar and hang it somewhere to dry with a tray or some tissue underneath – the drips will form crystals on your floor and counters too if left to splash, although they’ll wipe away easily.
The science bit
Why does it work? When you dissolve something until no more will dissolve you create a saturated solution. If you heat that solution, you are able to dissolve more in it until again you have a saturated solution.
If you now cool that saturated solution it becomes super saturated – there is more dissolved in it than there should be. This means that whatever has been dissolved has to come out of solution – in our case, by forming a crystal.
These crystals need something to form on – a nucleus. Things like scratches on the glass, dust and the bristles of a pipe cleaner suspended in the solution are ideal nucleation sites – so crystals come out of solution and grow on the pipe cleaner – and any other non-smooth surface available to them.
Congratulations! You now have some pipe cleaner crystal names!
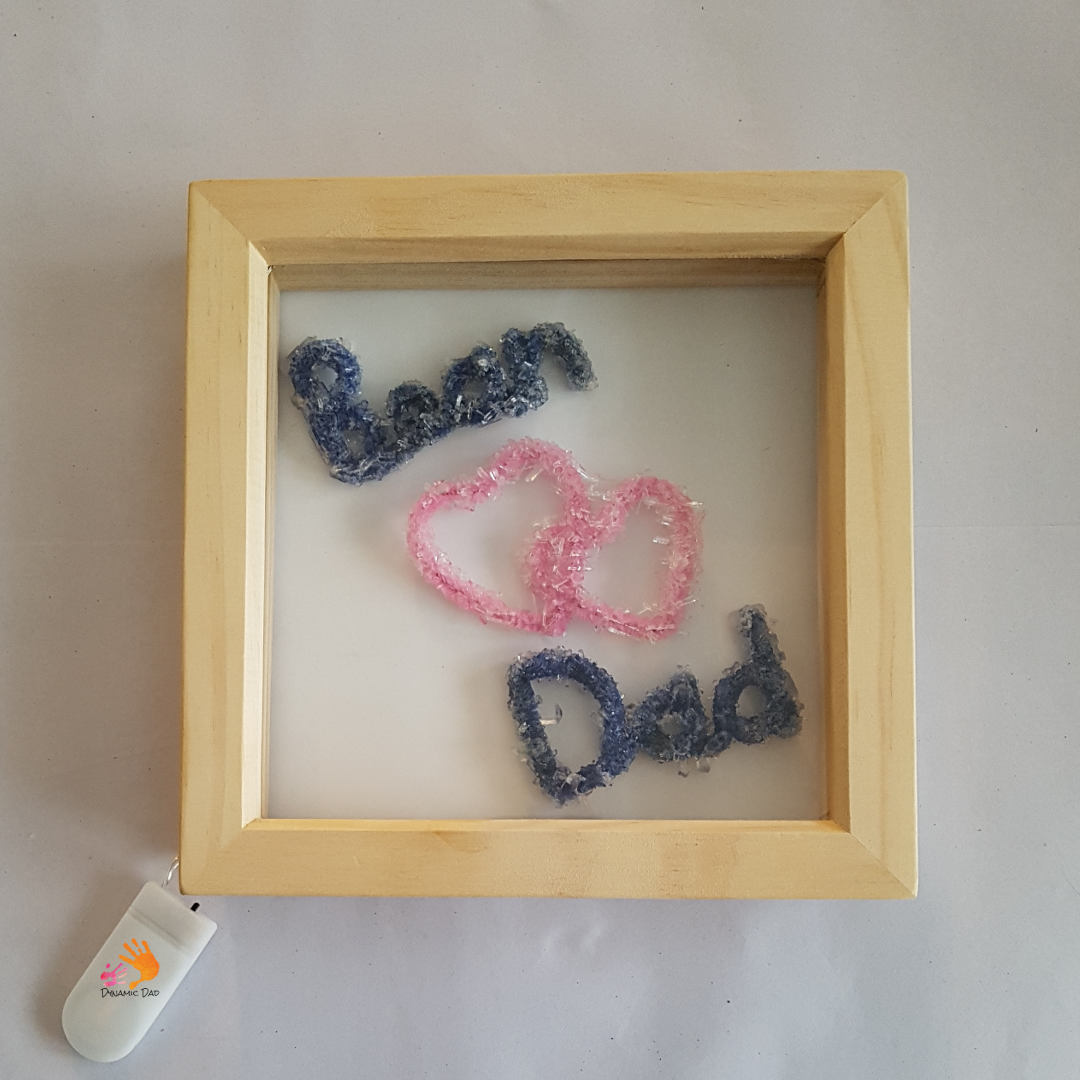
If you’re going to frame them (and I think you should – it looks great!) cut your backing sheet to size. If you’re going to light the frame (so the crystals can sparkle at night too) now is the time to add the lights.
One frame I used had a removable spacer, the other didn’t. In the end I used the same method of supergluing the LED light string to the frame, with enough cable trailing so the switch and battery pack could be hidden behind the frame.
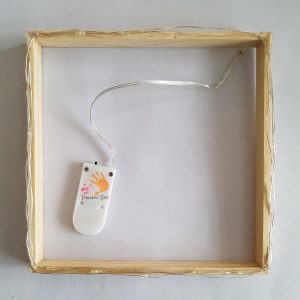
I bought my box frames from The Range, they were the perfect size and also the least expensive I’ve found. When they give me the “OK” I’ll add a link.
When glueing in the LEDs, try to keep them as far away from the visible area as possible – the pine frame has a much bigger recess at the edge than the black frame, as well as the removable spacer, and you can see in the pictures below how the light pools in one vs the other.
Once your lights are glued in and the crystal pipe cleaner names have dried, it’s time to mount them on the backing paper.
Mounting the crystal names
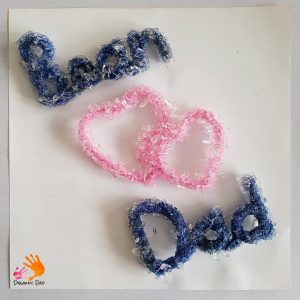
Position the names as you want them on the paper, then lay the frame over the top to check composition. We had to adjust our positioning a few times to get it looking how we wanted with the frame in place. These crystals were made using Epsom Salts.
Once you’re happy, try to look along the paper underneath the pipe cleaner crystals to see where they are making contact. This is where you are going to glue them.
Turn them over and put a good dollop of PVA glue on the back of the names where they were in contact with the paper, then put them back in position and leave to dry. It will probably take a while (a few hours), don’t be tempted to move them or you’ll end up with glue smears down your backing paper.
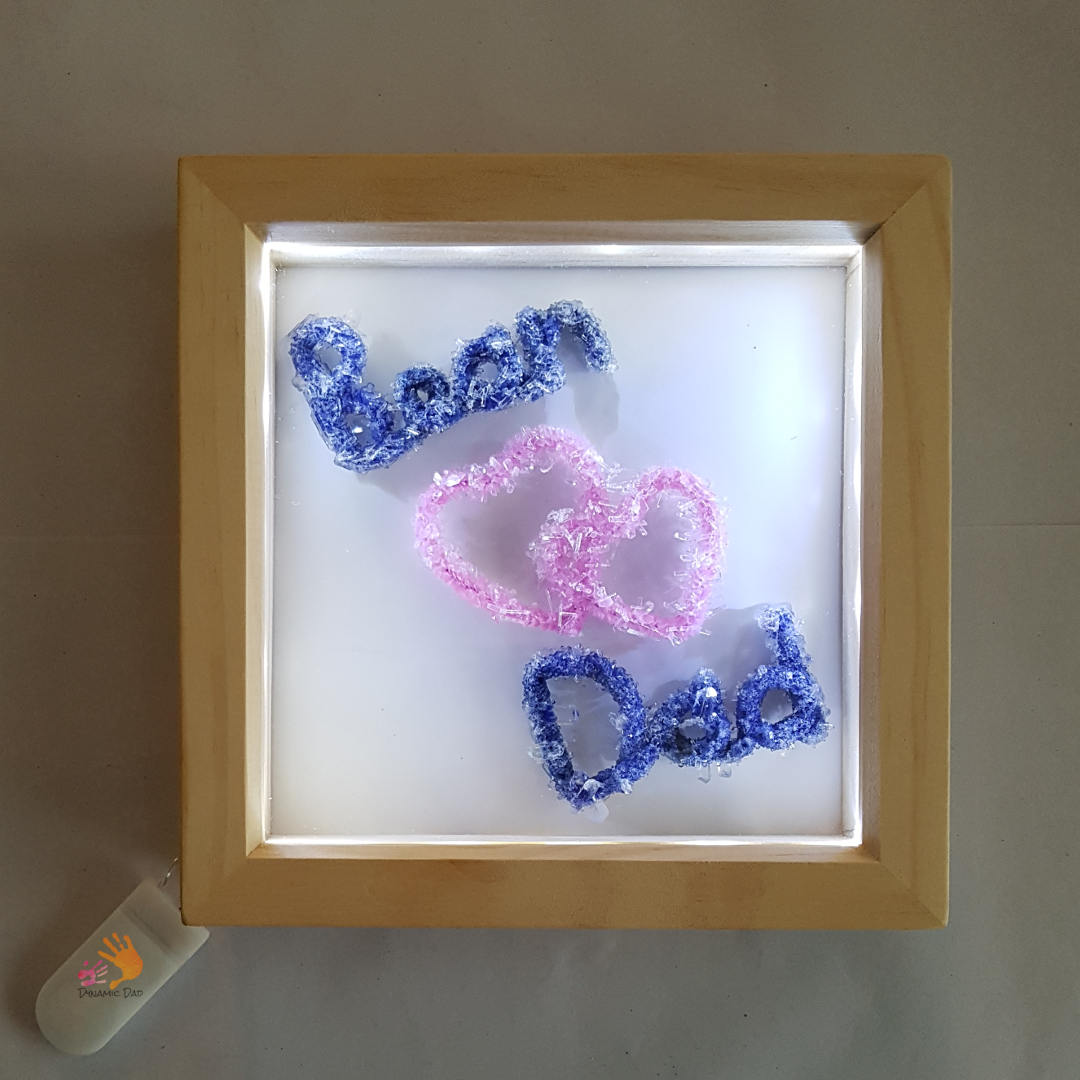
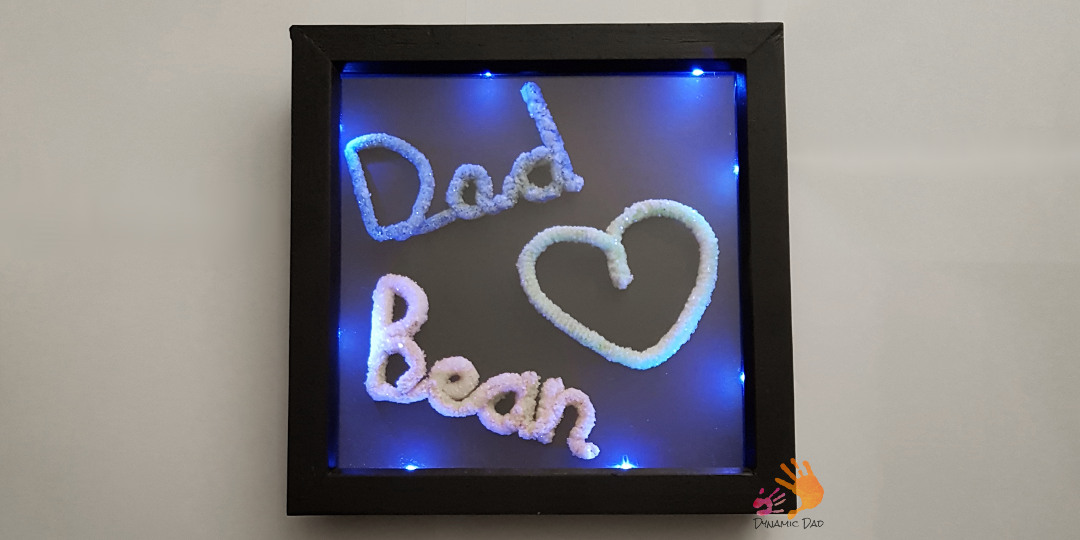
Once dry, mount in your frame, mount on the wall, turn the light on and once you’ve gotten your now incredibly excited child(ren) to bed, pour yourself a drink.




WOW! That’s very cool. I’ve seen crystal kits in the shops before, but had never thought to do a DIY version. Your names look great and I love that frame too. What an exciting project! I can’t wait to try something like this out with my little one. Thanks for joining us for the #dreamteam 🙂
Thanks! Bean really enjoyed making them and loves that she can turn the light on and off to make the crystals sparkle too. Hopefully yours will be just as excited!
I think these look fab. I might give them a whirl alone before I try with my crazy tribe of littles. Thanks for joining the #DreamTeam this week
It’s certainly worth a little prep to make sure you’ve got the right size jars and a handle on the ratios, I hope you have as much fun as we did!
I love this idea so much! They sell kits but they are SO EXPENSIVE, this is such an awesome idea. Thanks for sharing! #DreamTeam