Beach Art – Pressed Seaweed Prints
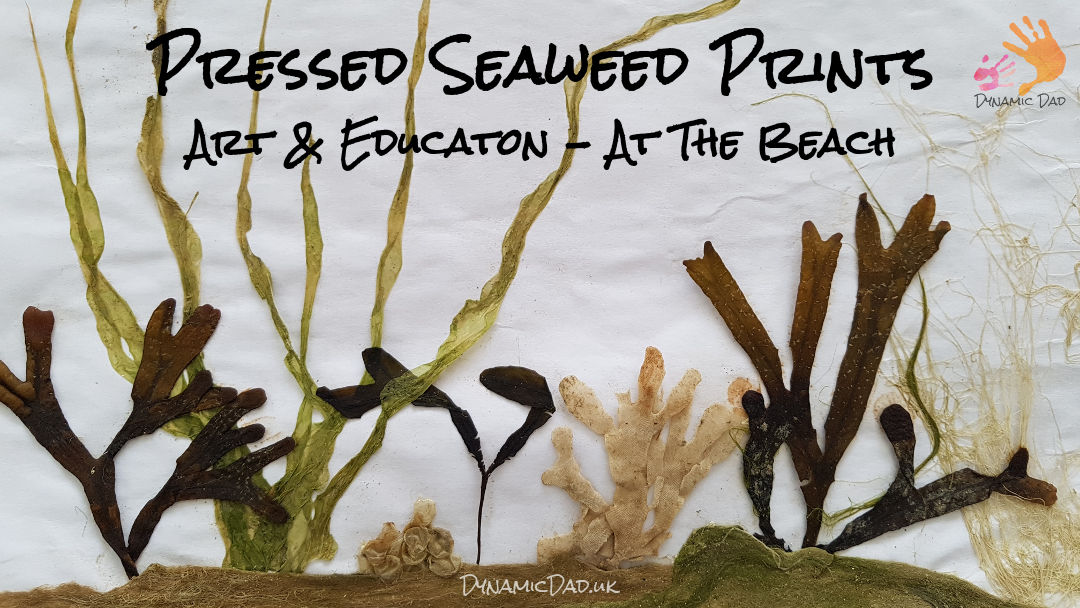
Spending some time at the beach this year? Take some time out to explore what the seaside has to offer on top of splashing and sunbathing. Hide some education in there too – they’ll never notice!
Here’s how to create your own pressed seaweed prints. Keep this up your sleeve as a fun, creative, no-screen rainy day backup or to extend the holiday on your return…
You’ll need
- Paper/card – heavyweight paper or lightweight card
- Newspaper
- Greaseproof/baking paper
- Corrugated cardboard (from an old box)
- Deep sided tray (that’s larger than your paper)
- Small paintbrush
- Cocktail sticks
- Weights (a few large books)
- Waterproof container
- The beach
Collecting seaweed
Grab a waterproof container and head down to the beach, a bucket or lunch box with lid you can seal will do nicely. Keep your eyes peeled – there’s a lot to be seen and point out to your kids – when you look closely.
Can you spot the fish?
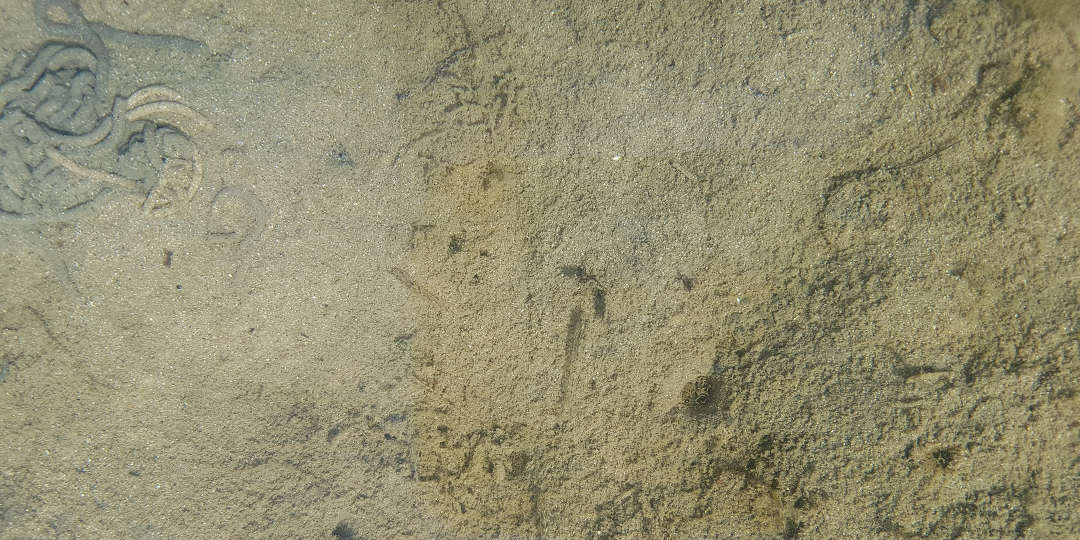
What about now?
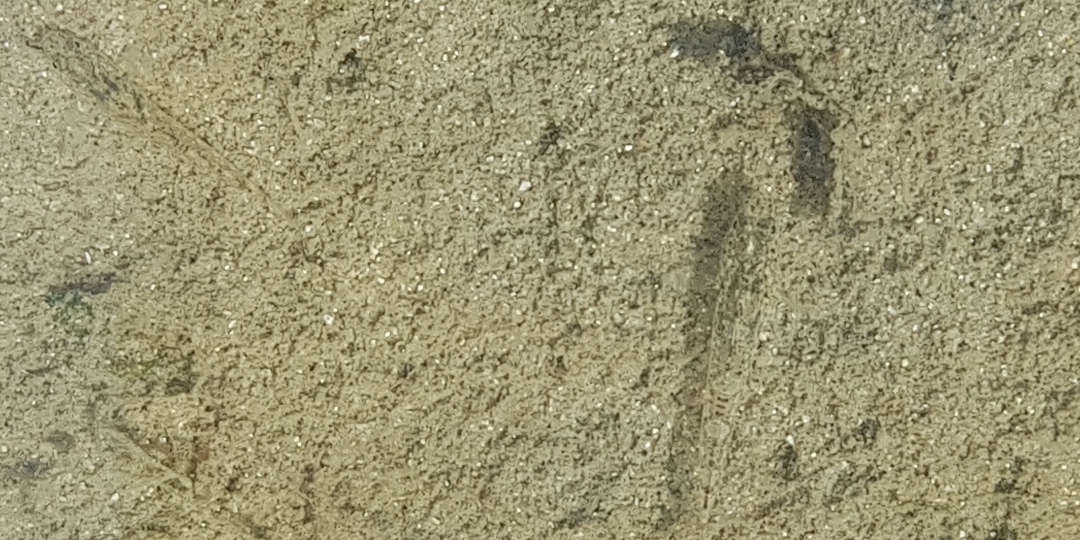
Pretty good camouflage isn’t it.
What about this tiny crab – no bigger than your thumbnail?
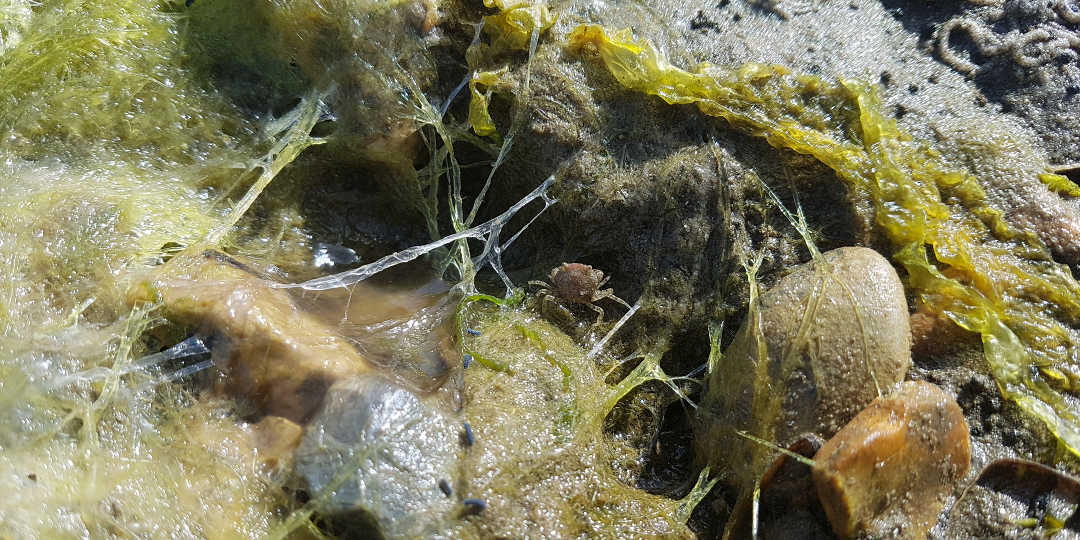
Did you know that crabs outgrow their shells?
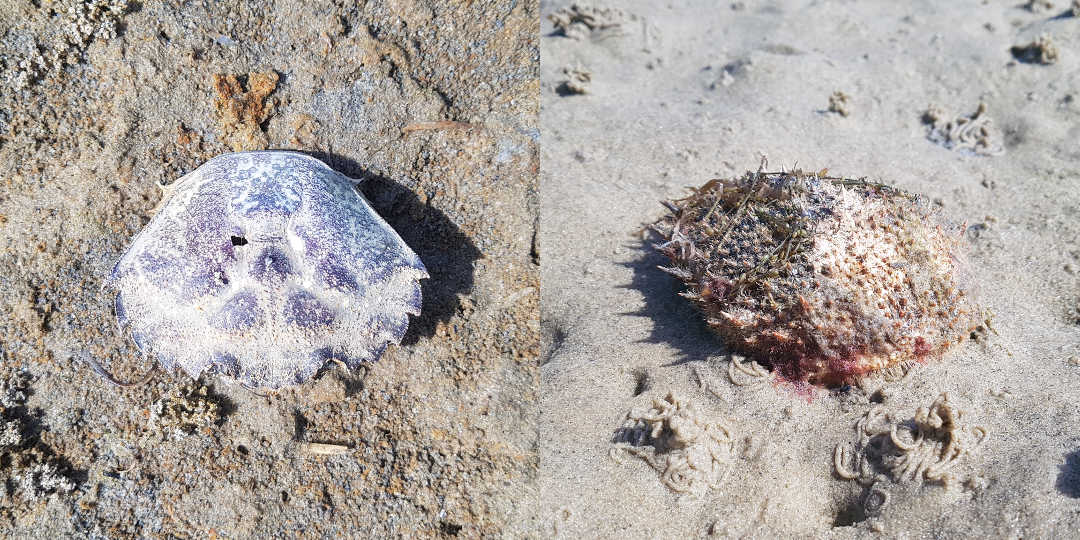
You can find shells like these all over the place – they’re not dead – they’ve just moved house!
Crabs moult 15-20 times in their lifetime, absorbing water and getting bigger and bigger until their shell cracks. They then back out of the shell, seek cover, and grow a new one! Crabs can also regrow lost legs, although it can take 3-4 moults for the new ones to reach full size. Pretty cool!
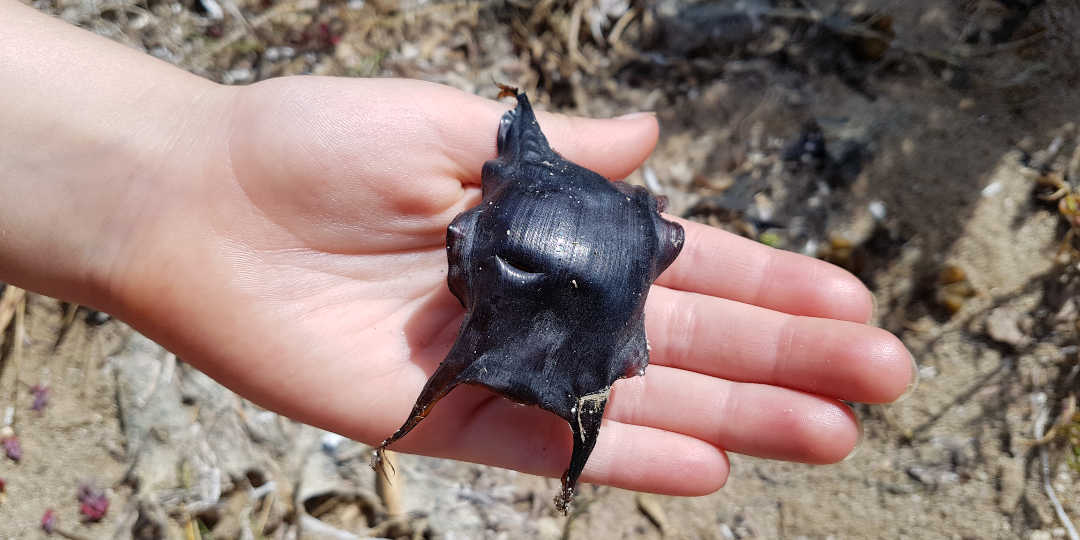 Mermaids’ purse.
You might also find things like the mermaids’ purse above (shark and ray egg cases), whelk egg casings, cuttlefish bones, Hornwrack (a colony of Zooids that can look like the white plastic seaweed you might expect to see in a fish tank) or Pink Sea Fan coral – amongst other things. All of these were found in about an hour at a beach in the UK!
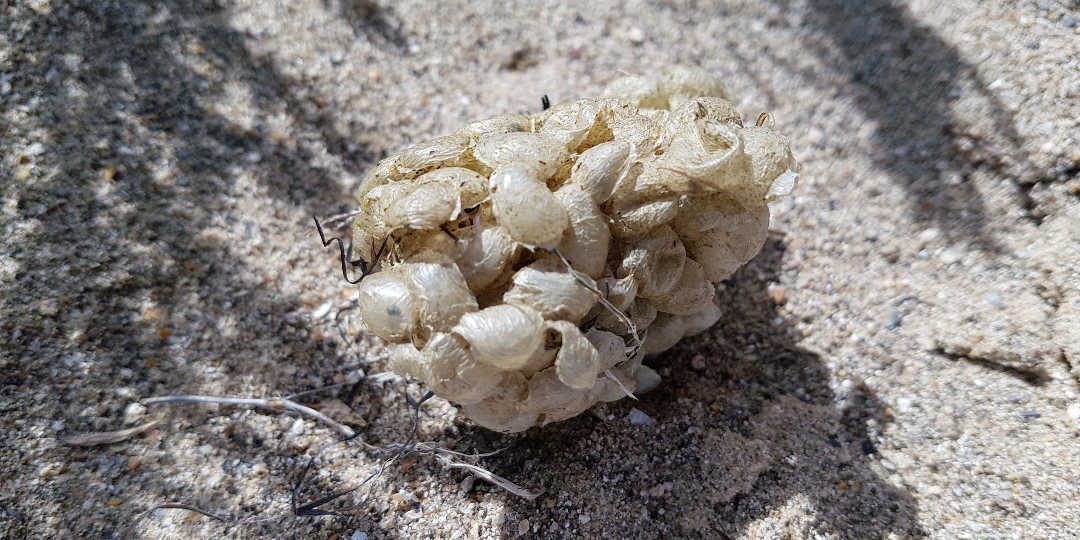 Whelk egg casings.
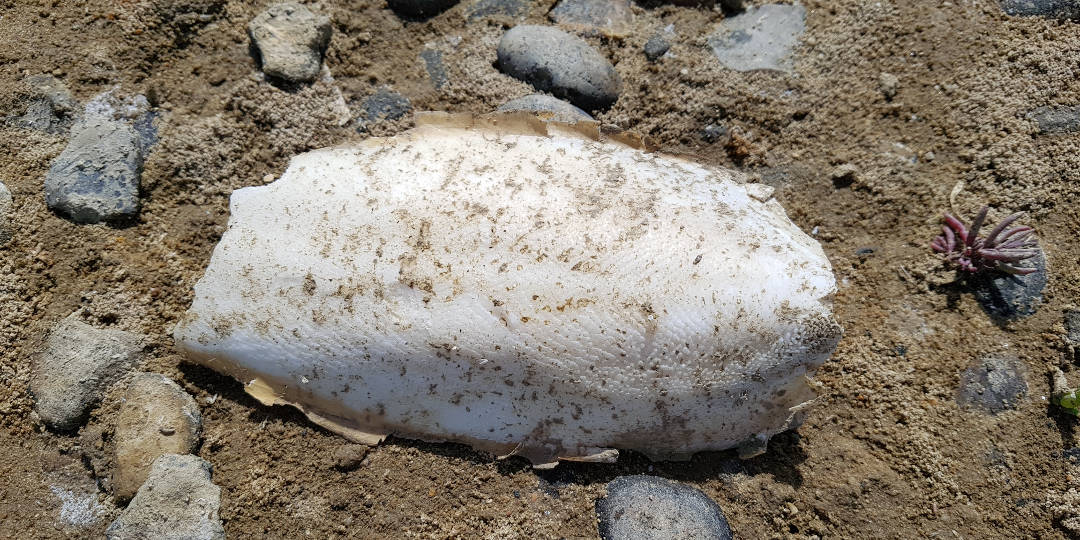 Cuttlefish ‘bone’.
Did you know that cuttlefish can change their colour to camouflage themselves in different environments – a bit like a chameleon on land. Not only that, but when they are hunting (they’re predators) they ‘hypnotise’ their prey by changing their colour change constantly – show the kids this clip on YouTube…
Plus of course, there’s the seaweed…
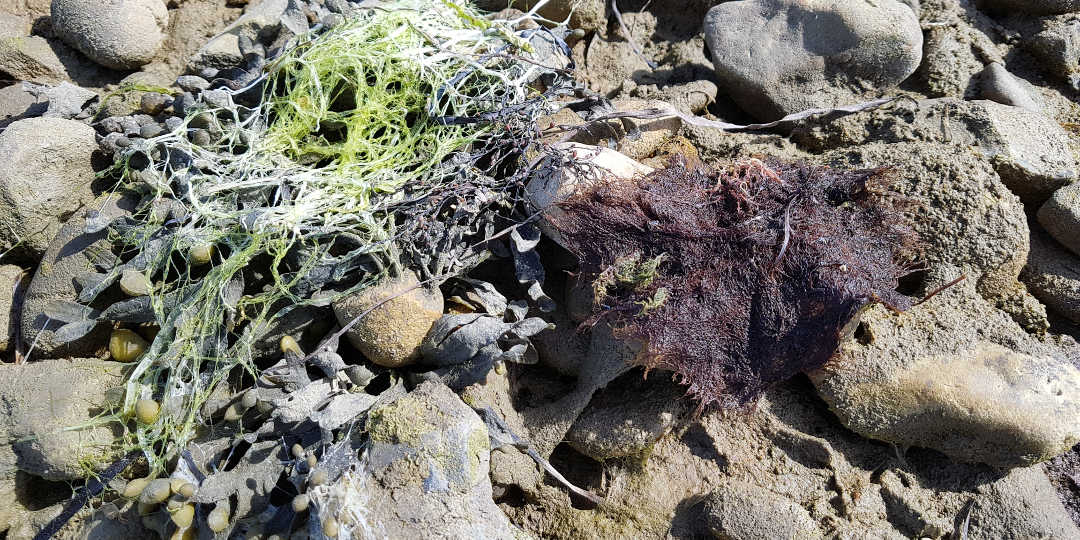
See those yellowish balls on the brown seaweed (bottom left)? Those are air sacs – so the seaweed can float closer to the sun and get more light – the light it needs to photosynthesise, just like the trees and plants on land. Clever stuff.
Collect different types and colours of seaweeds from the waterline, rockpools etc. being careful to leave any wildlife behind. Double check your gatherings for snails and other creatures and make sure you leave the poor blighters in their home environment – they won’t much enjoy being pressed onto paper!
Small samples are all you need as the seaweed prints you’ll be creating look best with only a few specimens per sheet.
Pop them into your waterproof container, after giving them a rinse in the sea if needed.
While you’re at it, you could throw some more daducation at them and talk about how seaweed is used in everyday products….
Ok, ok, here are a few – toothpaste, chocolate milk, ice cream, cosmetics, paint, medicine, fertiliser, soap… I won’t go on, but feel free to google it!
Do, however, make sure you’re dressed appropriately – rocks can be sharp and slippery – and supervise closely – particularly around rock pools. These are the places you’re likely to find live anemones, jellyfish and worms – that can give a nasty sting or bite, which could be transferred to the face and eyes while attempting to wipe tears away. If this does happen, make sure you take a picture of the offending creature so it can be identified as necessary later and follow the NHS advice here.
The other thing you could do is spend a few minutes filling a bag with litter – do your little bit to keep our beaches clean and instil a sense of responsibility in your kids. Remember, they’ll follow your actions – not your words.
Preparing your seaweed press
The prints will take a few days to dry, so you’ll need a firm, flat area to leave them during this time.
If you envisage having to move them, use a tray or something similarly mobile, but strong and firm.
For each seaweed print you’ll need a sheet of corrugated cardboard, several sheets of newspaper and a sheet of greaseproof paper – all cut slightly larger than the paper you’re using for your prints.
On your chosen surface, first place a several sheets of newspaper – this will absorb the moisture from your prints.
The rest will go on top of your prints.
Pressing your seaweed prints
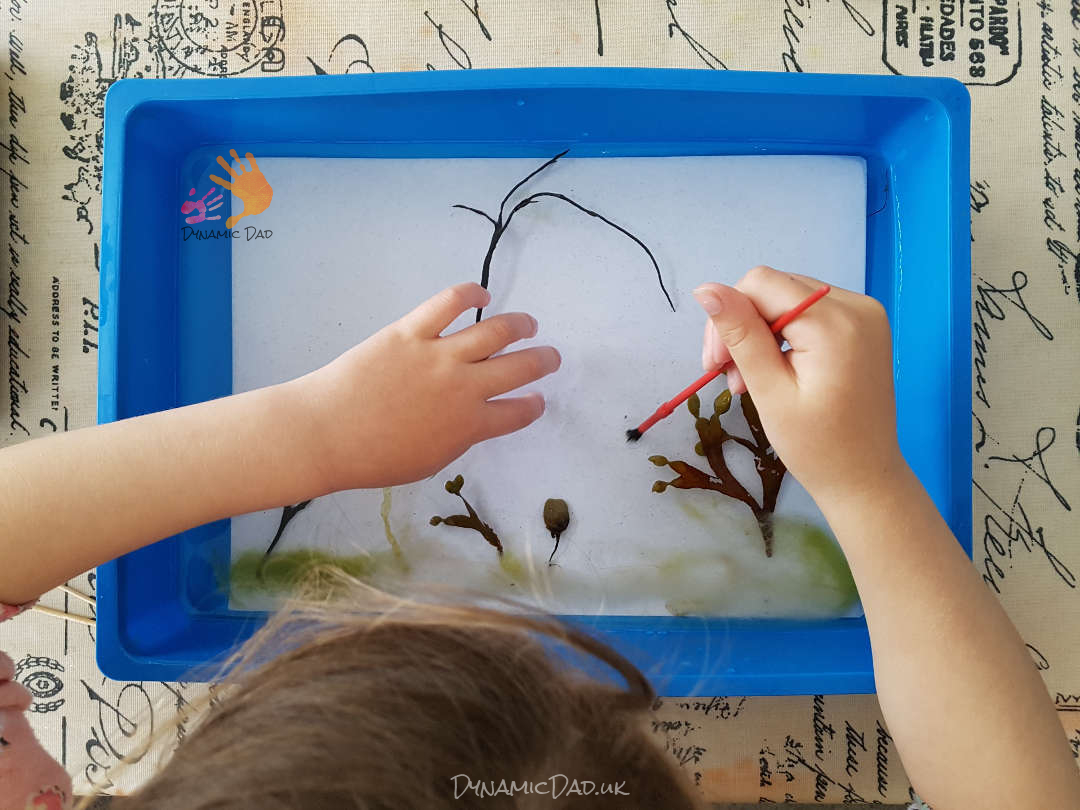
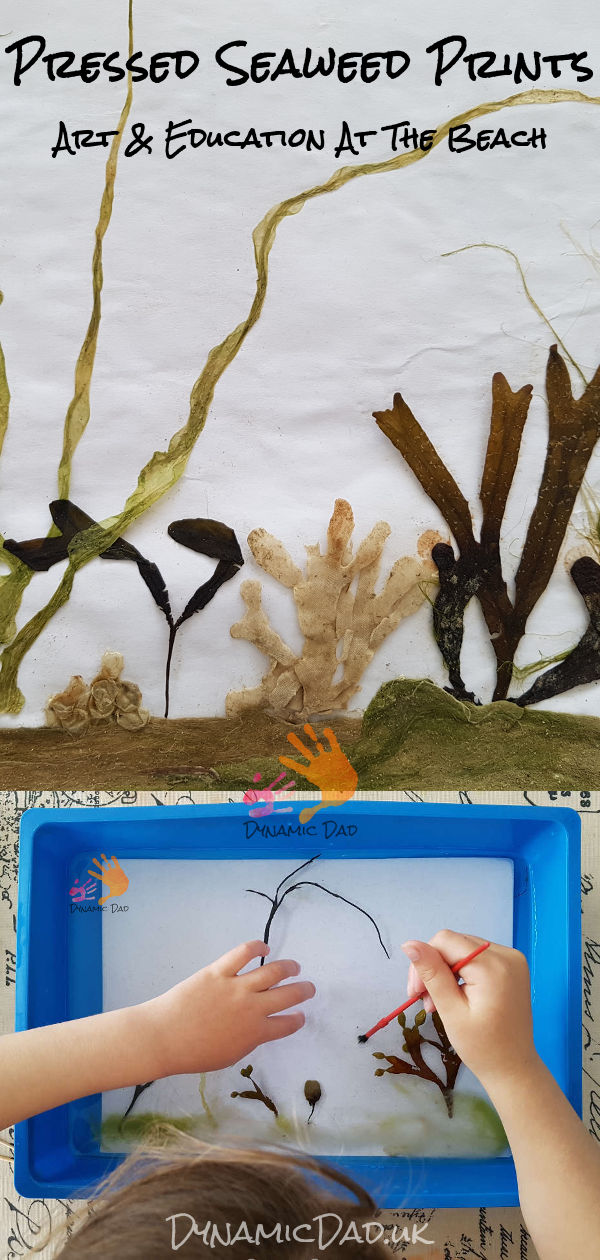
Put a sheet of card/paper in your tray and cover with around an inch of water.
Add a few pieces of seaweed and compose your picture using a small brush or cocktail stick. You can also brush any unwanted sand or grit off the print.
Having the paper in water allows the seaweed to spread out naturally, especially for the thinner, grassy type stuff – and makes it a lot easier to manage and compose your picture.
Once you’re happy, carefully lift the paper out, allowing the water to drain off but without disturbing your design.
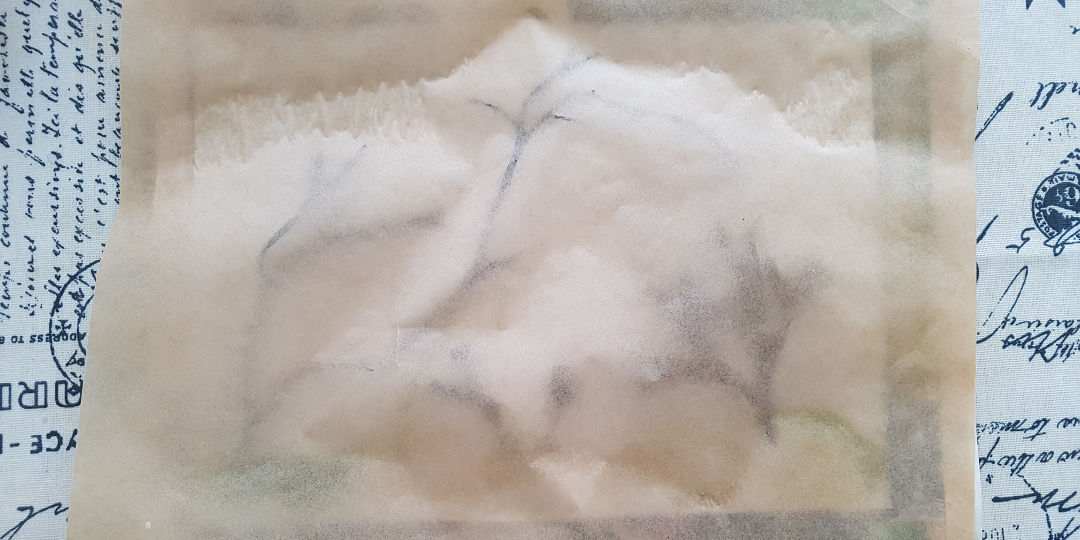
Place this on top of your press (on top of the newspaper) and lay the sheet of greaseproof paper over it.
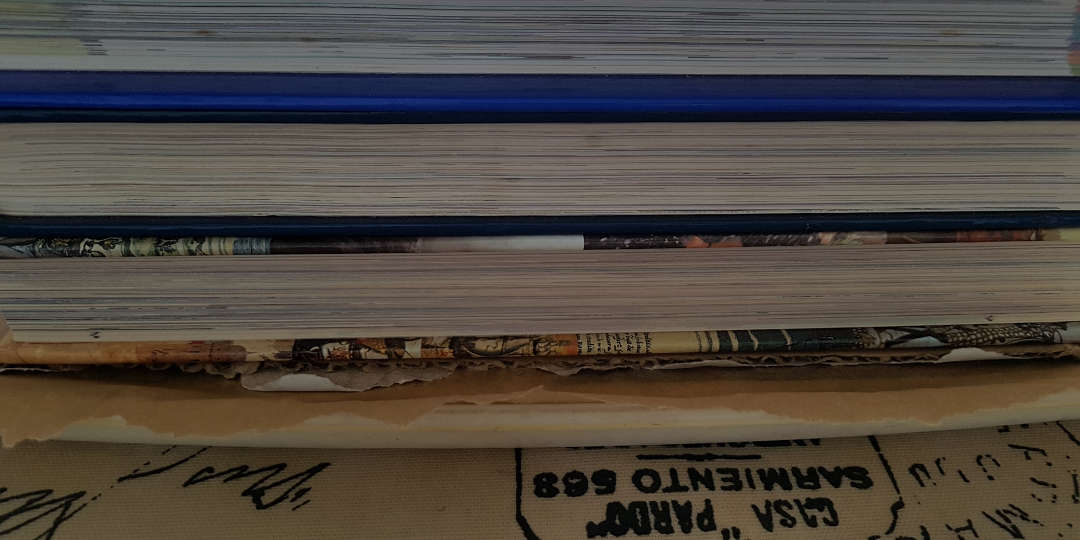
Lay the sheet of corrugated cardboard on top of this and finally place your weights on top.
You should have a seaweed picture sandwich something like this (from top to bottom):
Weights (Books?)
Corrugated cardboard
Greaseproof paper
Seaweed print
Several sheets of newspaper
If you’re making several prints as we did, you can layer them then add the weights on top.
Leave your prints to dry, changing out the newspaper as necessary when it gets damp – in the morning and before bed should do it for a couple of days. Do make sure you change the newspaper though – no one will want a mouldy picture!
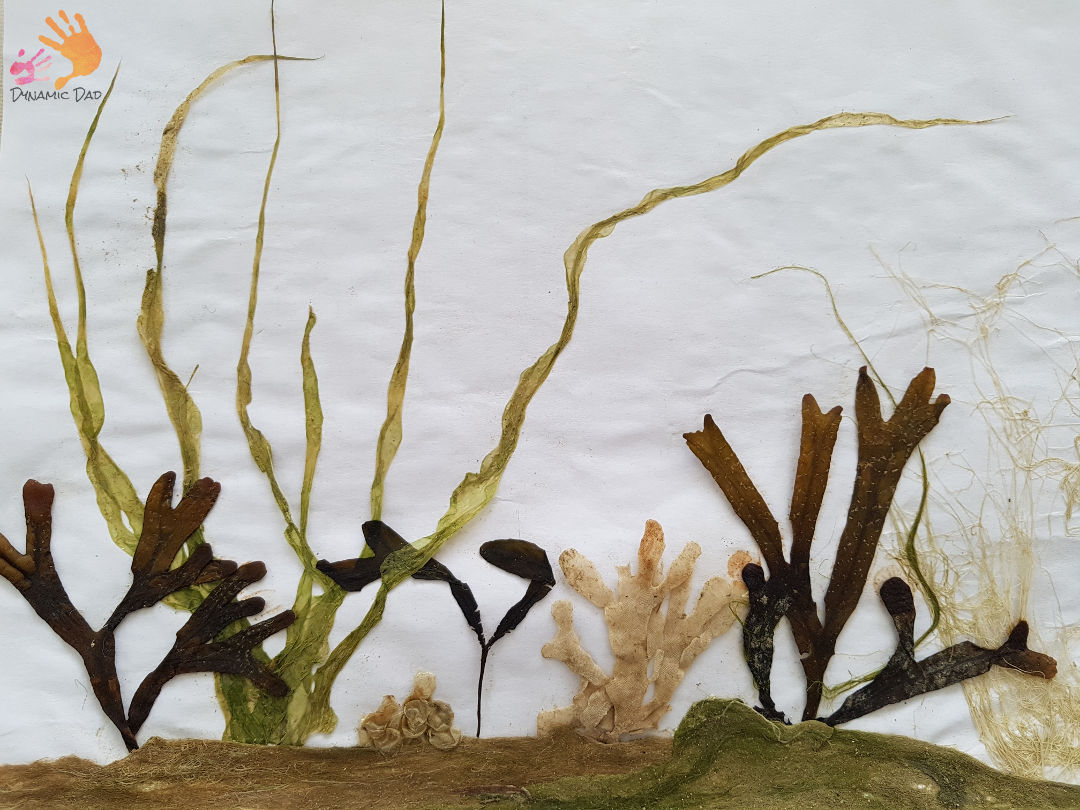
When dry, you could paint or sketch to complete your underwater scene or simply frame and hang as a momento of your holiday.
N.B. I mentioned Hornwrack earlier – it’s the white ‘seaweed’ in the centre-right, there are also some Whelk egg casings centre left.
Have fun and share your creations – don’t forget to tag DynamicDad on Instagram, Facebook or Twitter!




I love this idea of using natural resources to create beautiful art X #thatfridayfeeling
What a brilliant activity and all natural Thank you for linking to #Thatfridaylinky please come back next week
I absolutely love this! Thanks!