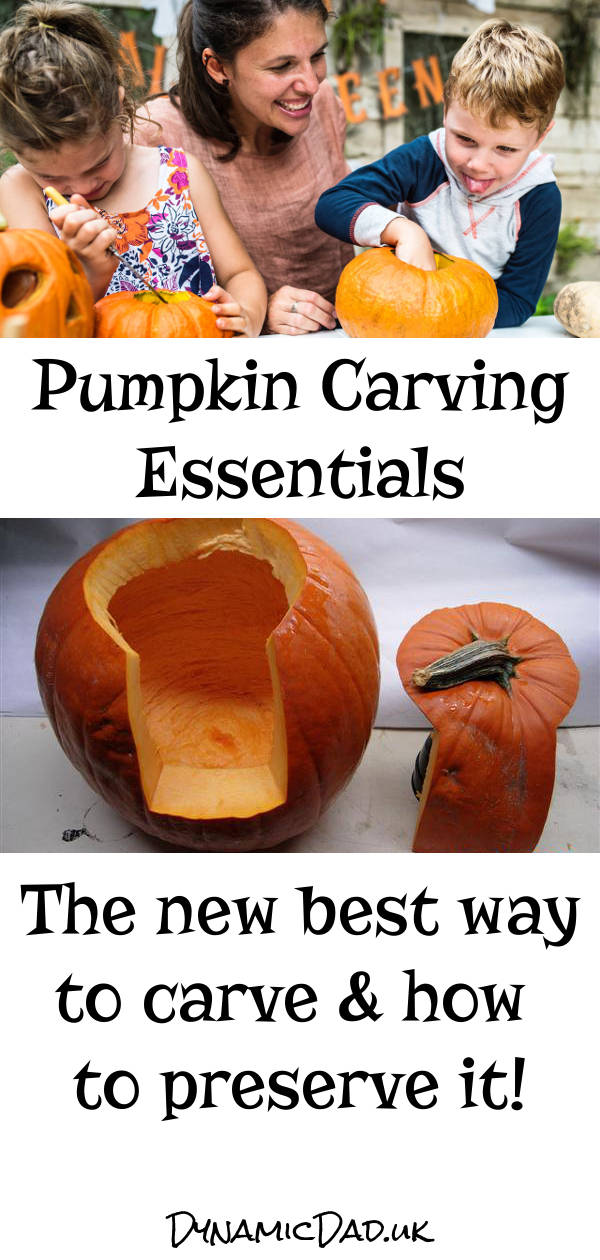
Hallowe’en Pumpkin Carving Essentials
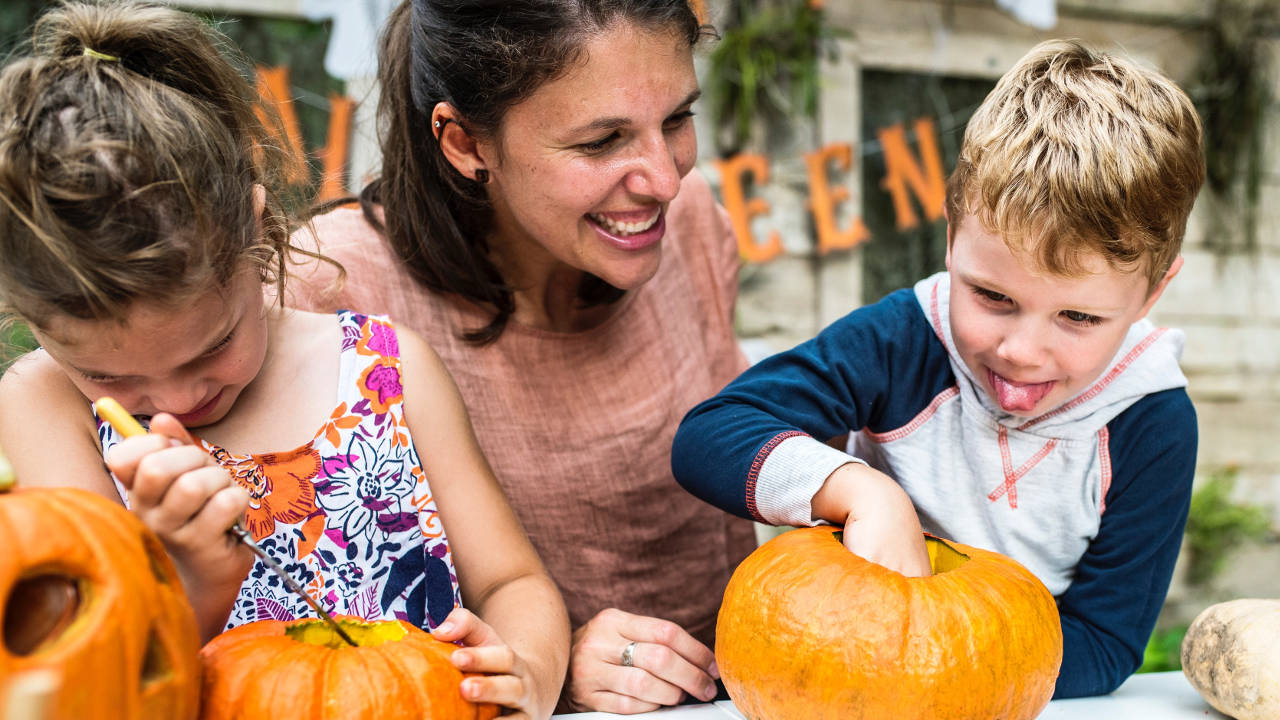
Pumpkin carving is a Halloween pastime enjoyed by children and adults alike. It’s also a great way to explore your imagination as well as doing something just a bit different with your food!
I’ve pulled together a few essential tips to make the most of your Halloween pumpkin including a selection of Halloween pumpkin design resources, a carving kit with LED tea light, the BEST way to cut the lid and even how to preserve your pumpkin so it lasts the week and more!
Halloween pumpkin designs
Make your life, and their fun, as easy as possible by prepping in advance. Grab yourself some pumpkin designs online and print them out so you and your little ones have a few to choose from – or use as inspiration.
There are loads of free and paid resources out there – here are a few to get you started:
Pumpkin carving kit
I highly recommend you get yourself a pumpkin carving kit – they contain a few simple but easy to use tools and are especially good for the kids.
This one even comes with an LED tealight included, though you may have some of these LED candles from my Halloween Mummy Lantern craft or these LED string lights from my Framed Crystal Names craft.
The best way to cut the lid
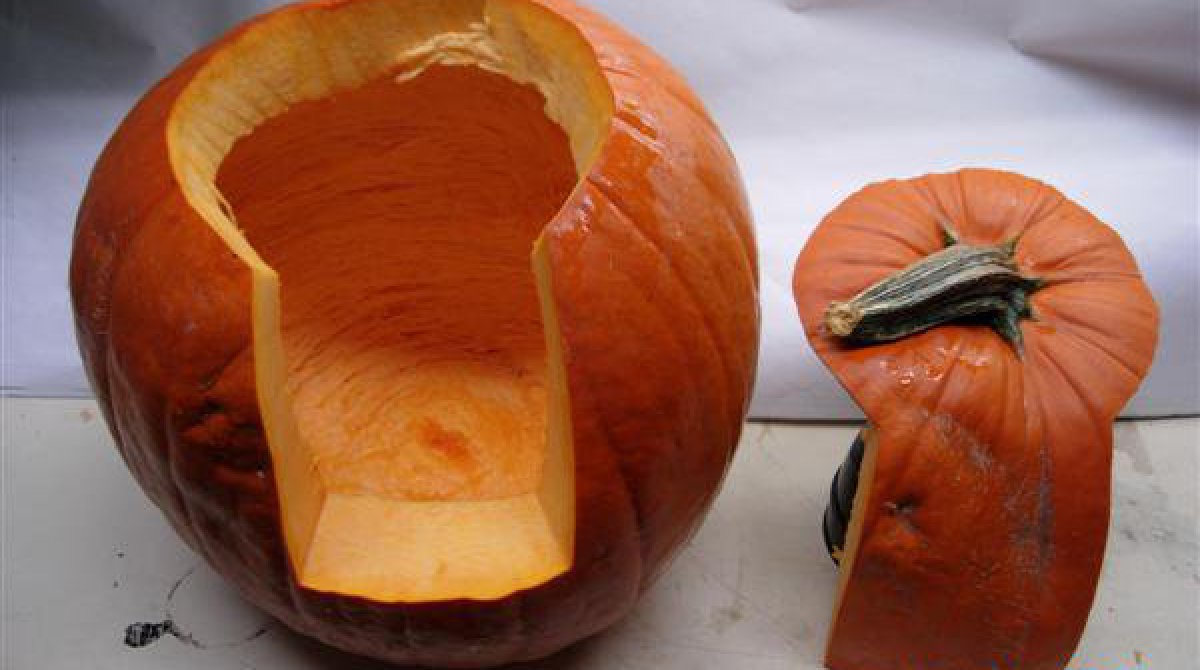
To stop the lid falling in, instead cut a ‘keyhole’ shape – the circle at the top and the slot down the back of the pumpkin. This will give you a bigger hole to scoop out through, and provide more support for the lid to stay in place.
When you scoop out the inside of the pumpkin (apart from saving it for making soup, pie, chips, etc.) take away enough to give a 1cm or less (1/2 inch) thickness on the side you want to carve. This will make it much easier to see the design lit from inside, it will also mean you can get fancy and vary the light that gets through by varying the thickness of the pumpkin.
Transferring the design
Attach your stencil to the pumpkin and pierce through the stencil to create a connect-the-dots pattern, this way you have a guide to follow that isn’t ink that could wipe off. If you’re free-drawing your design, pierce dots along the lines after you’ve drawn them – in case your design rubs off as you carve.
The mini saws in the carving kits make life easy even for little ones, but if you’re using the knives you have already then make sure they’re sharp! You’re more likely to injure yourself with a blunt knife because you’ll apply more pressure to make a cut and you’ll have less control over where the blade goes.
Once you’ve carved your pumpkin and you’re happy with the design – don’t put the light in just yet!
Preserving your carved pumpkin
Fill a bucket, sink or bowl with enough water to submerge your pumpkin, add a splash of bleach to make a weak solution (a couple of caps will do) and leave your pumpkin in the solution for 15 to 30 min. This will help preserve your design through the holidays and is especially useful this year when many will be carving with the kids at the weekend, but Hallowe’en isn’t until midweek.
Once out and allowed to dry, add your tea light, replace the lid and proudly display your pumpkins!
For some more dead easy Hallowe’en crafts to do with the kids, check out this post & don’t forget to subscribe below for updates and other fun activities throughout the year!